Guide
Contents: Open a New Project | Import Audio or Video Files | Configure Transcript Settings | Editing and Exporting Transcripts | Creating Captions
Note:
Select any image embedded in this guide to expand
Open a New Project
-
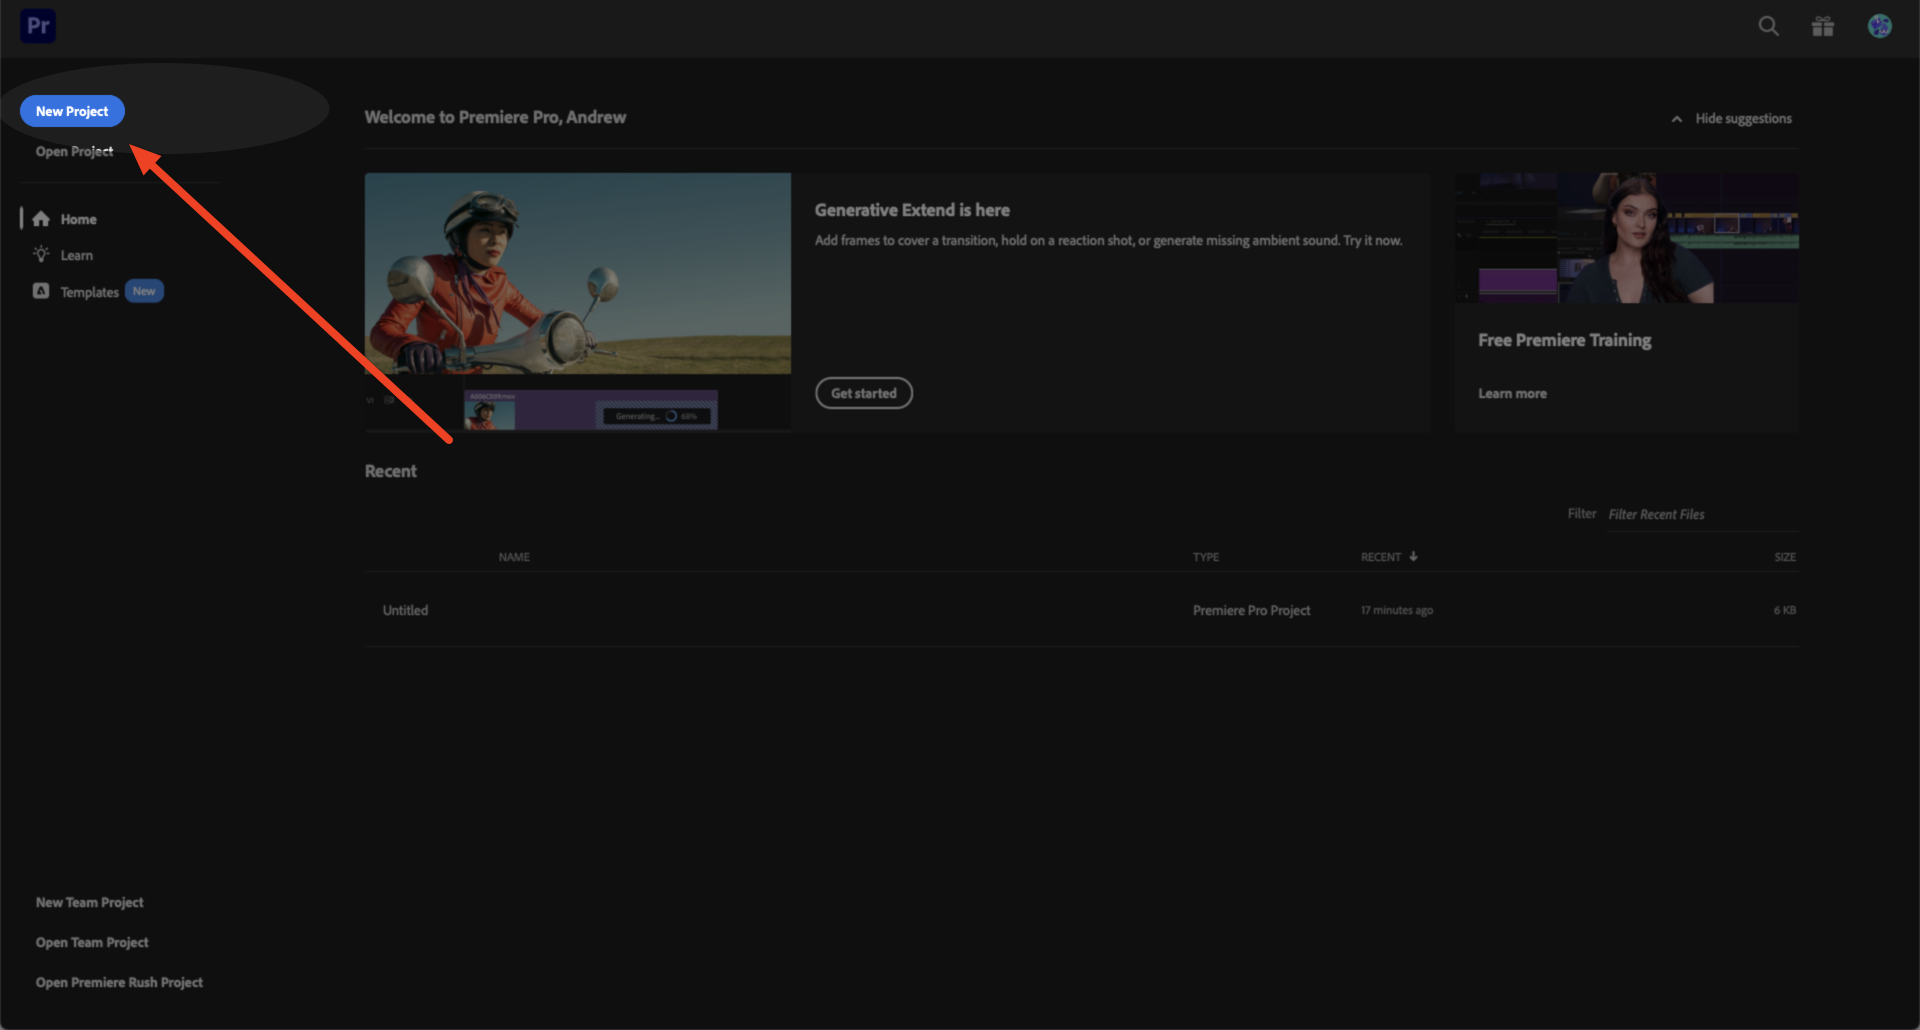
Open a
New Projectin Premiere![Screenshot of Premiere interface start menu with the New Project button on the top left.]()
-
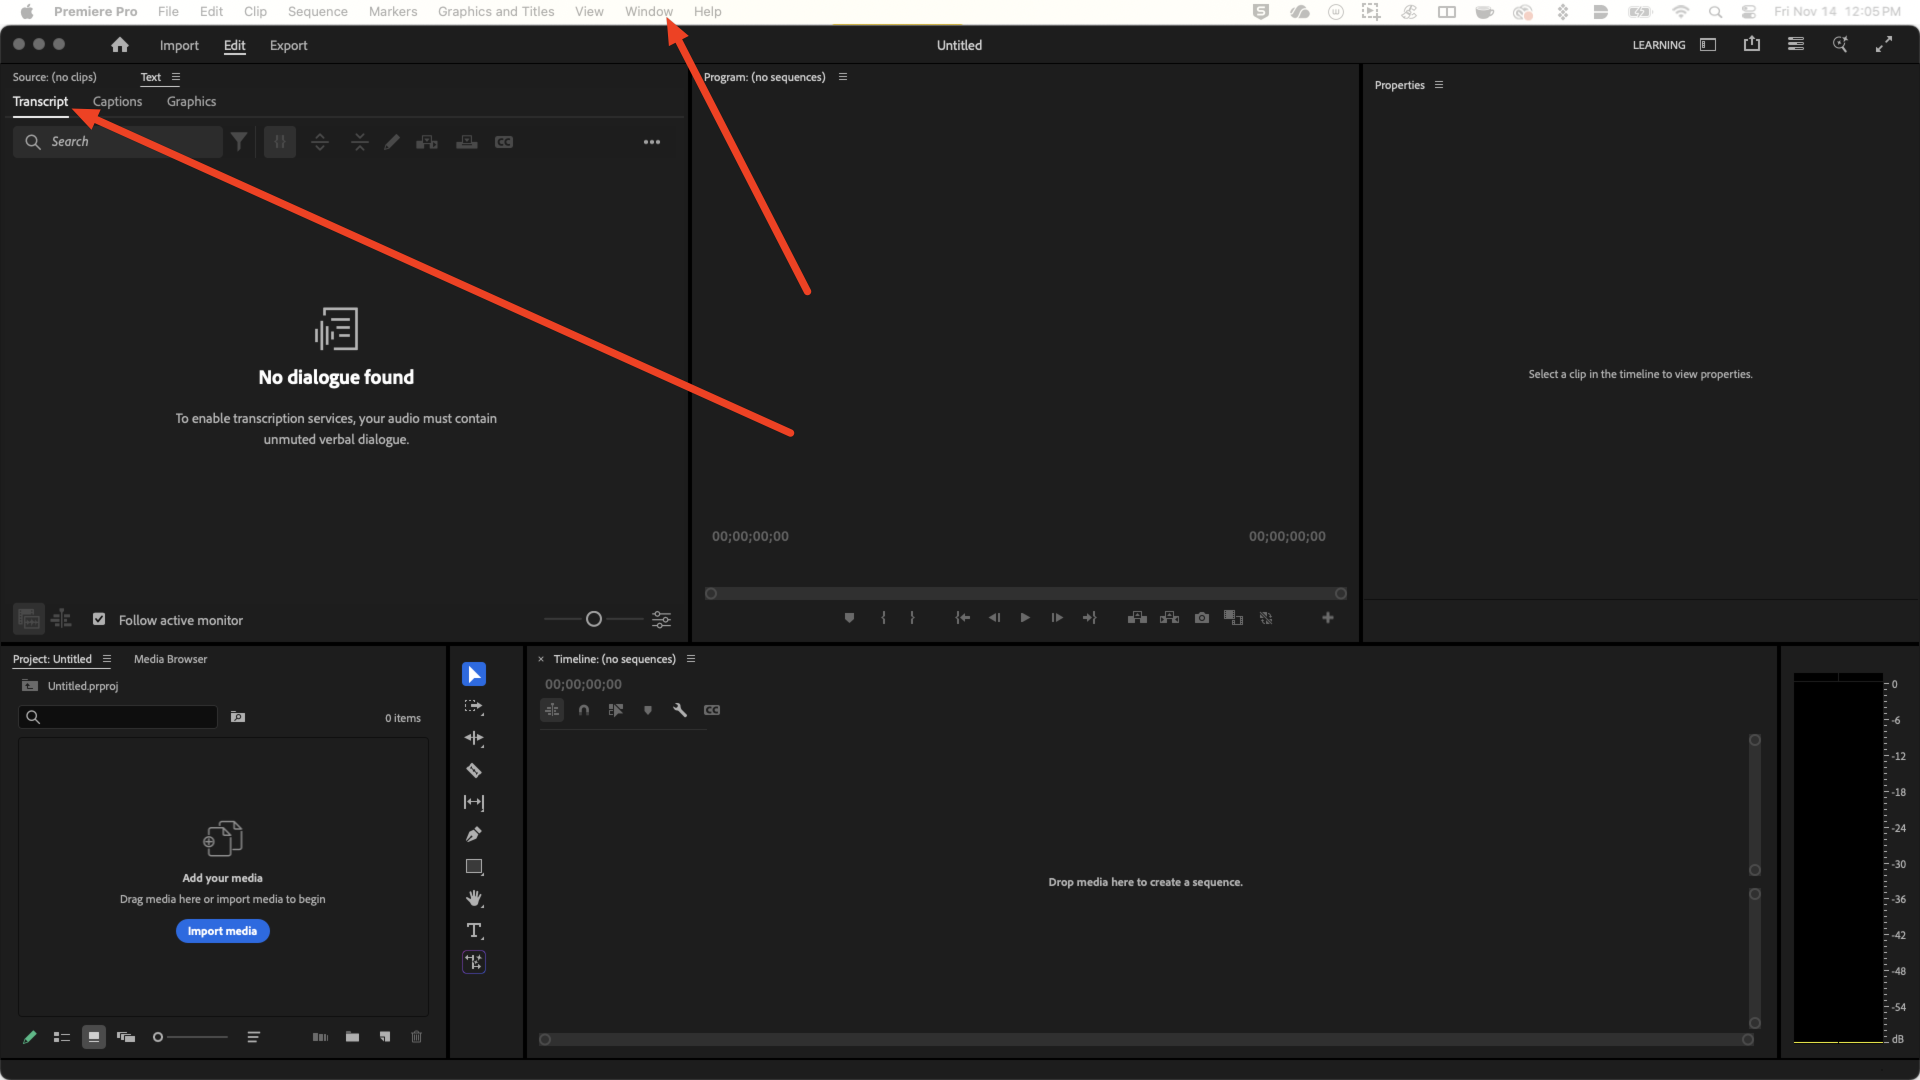
If it isn’t already set up by default, select the
Windowfrom the top menu and selectText, which should open on the top left of the interface![Screenshot of Premiere with red arrows pointing to both the Window section of the top menu and the transcript window in the top left of the interface.]()
Import Audio or Video Files
-
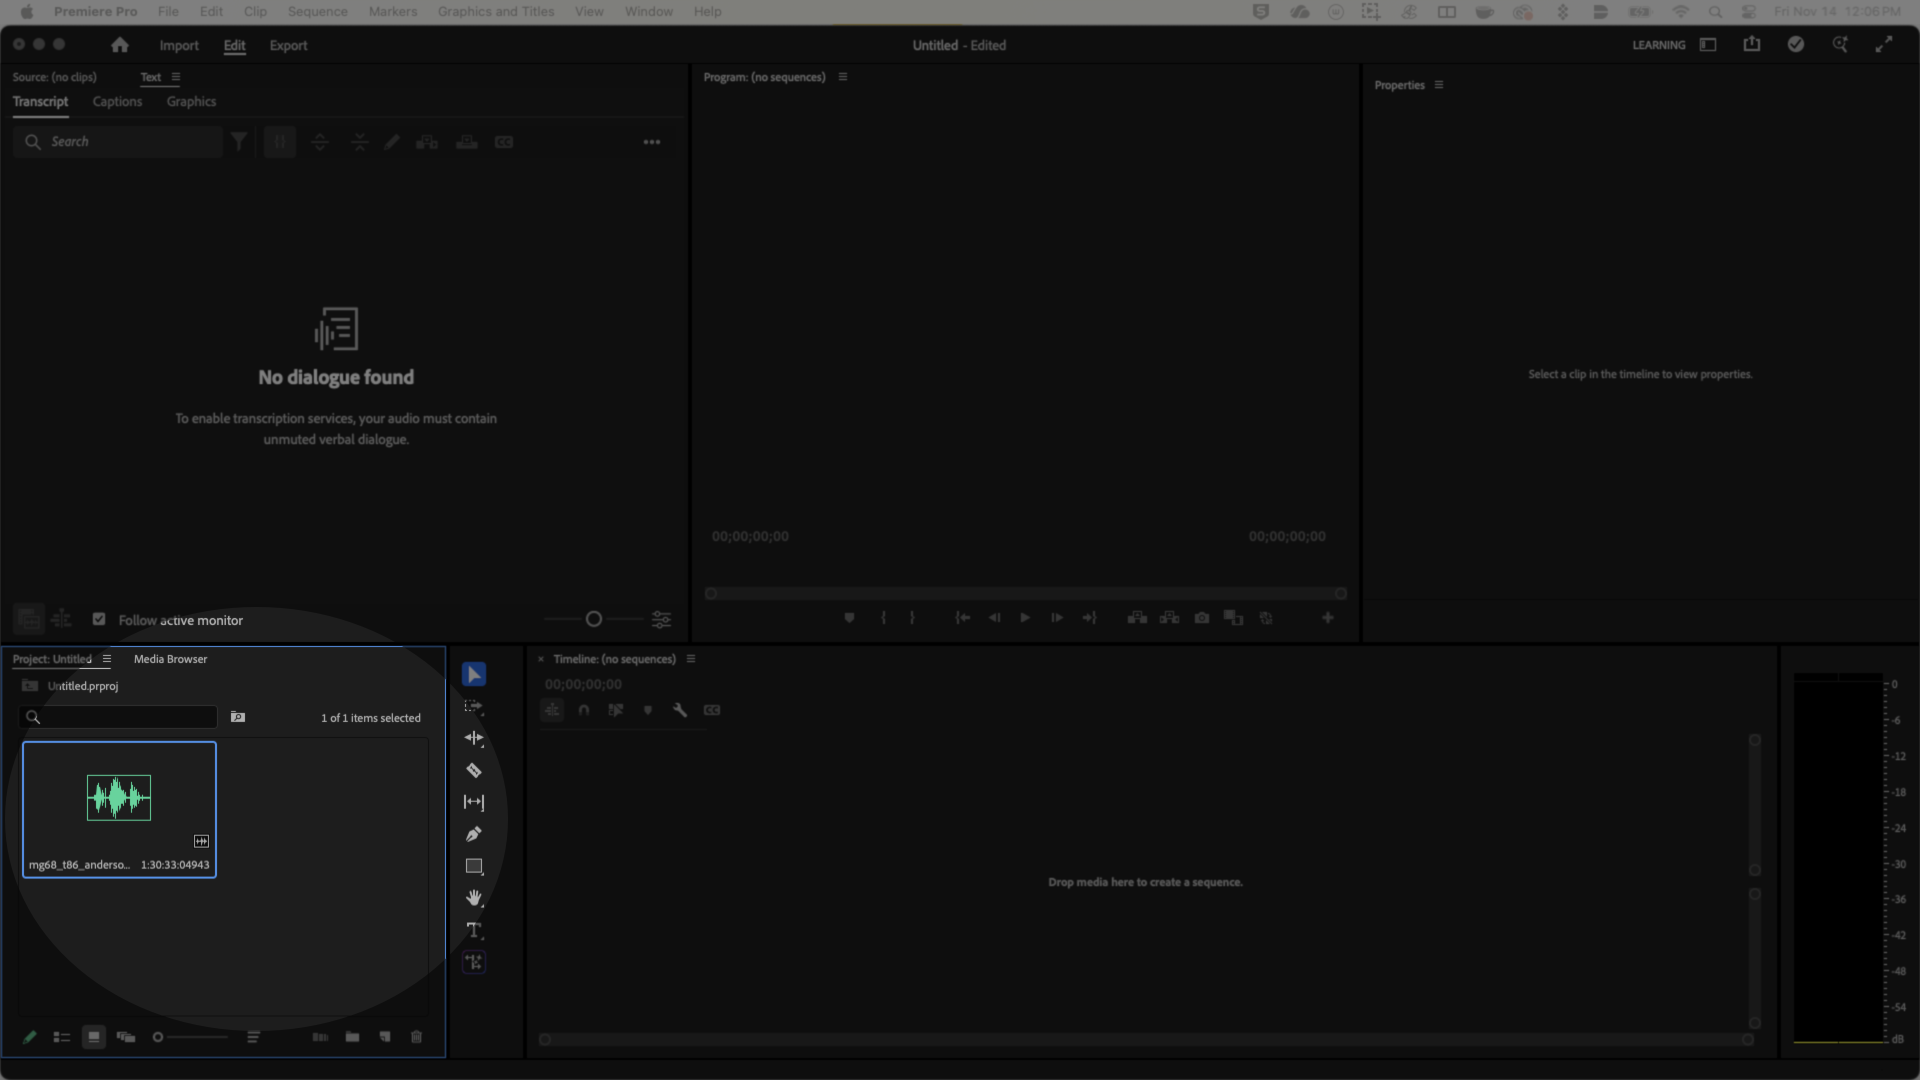
Drop the audio from the media browser window on the bottom left into the timeline on the bottom left
![Screenshot of Premiere interface highlighting the media browser section.]()
-
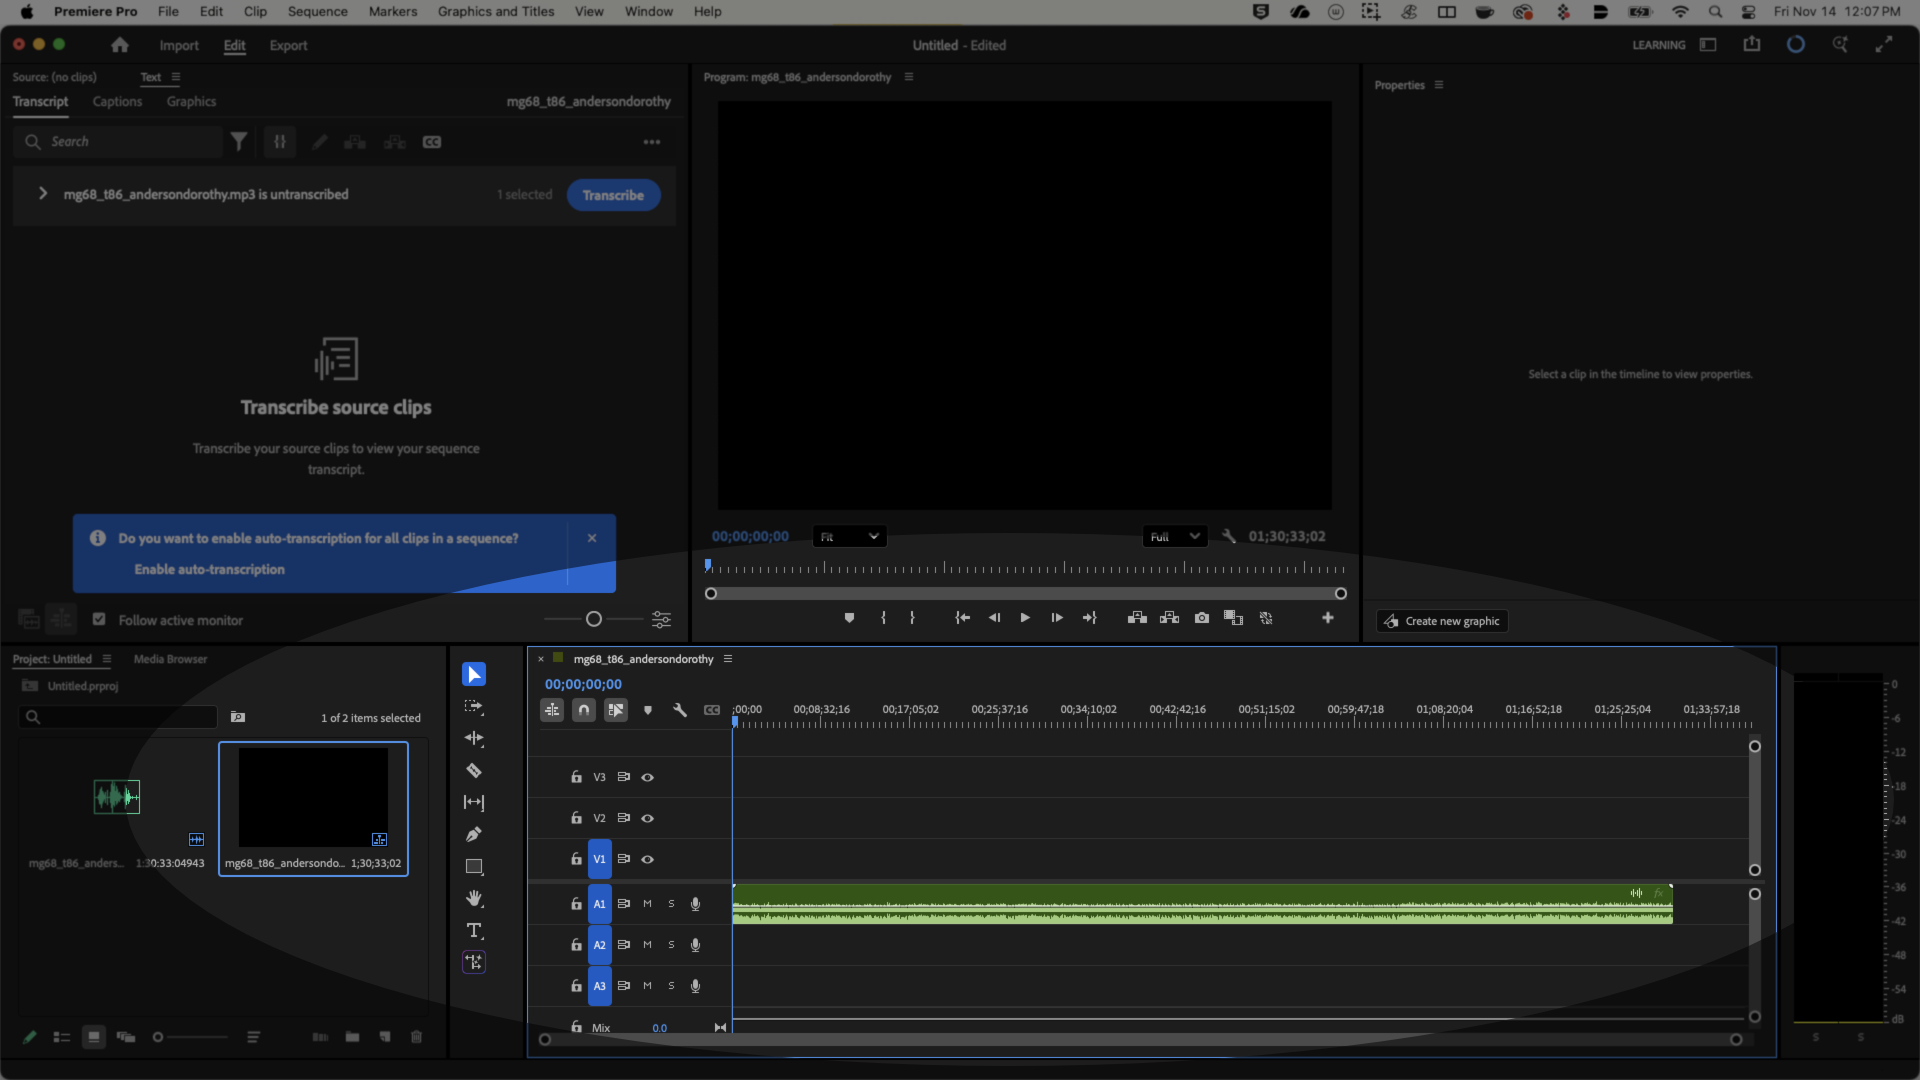
Drag that audio into the timeline section
![Screenshot of Premiere interface highlighting the timeline function.]()
Configure Transcript Settings
-
With the first
Transcripttab open on theTextwindow, you will be given a prompt that says “do you want to auto transcribe media?” Instead, select the ellipses on the top right of the transcript window and then selectGenerate Static Transcript![Screenshot of Premiere interface highlighting the transcript window and a red arrow pointing to the Generate Static Transcript function.]()
-
This will open a window where you can specify the language of your media and whether you would like to differentiate speakers in your transcript. If you have only one speaker on a recording, confirming this will keep the platform from looking for other speakers.
![Screenshot of Premiere interface with Generate Static Transcript window.]()
-
Depending on the length and language of the audio, processing should take between 5-15 minutes on a Mac device (longer on a PC)
-
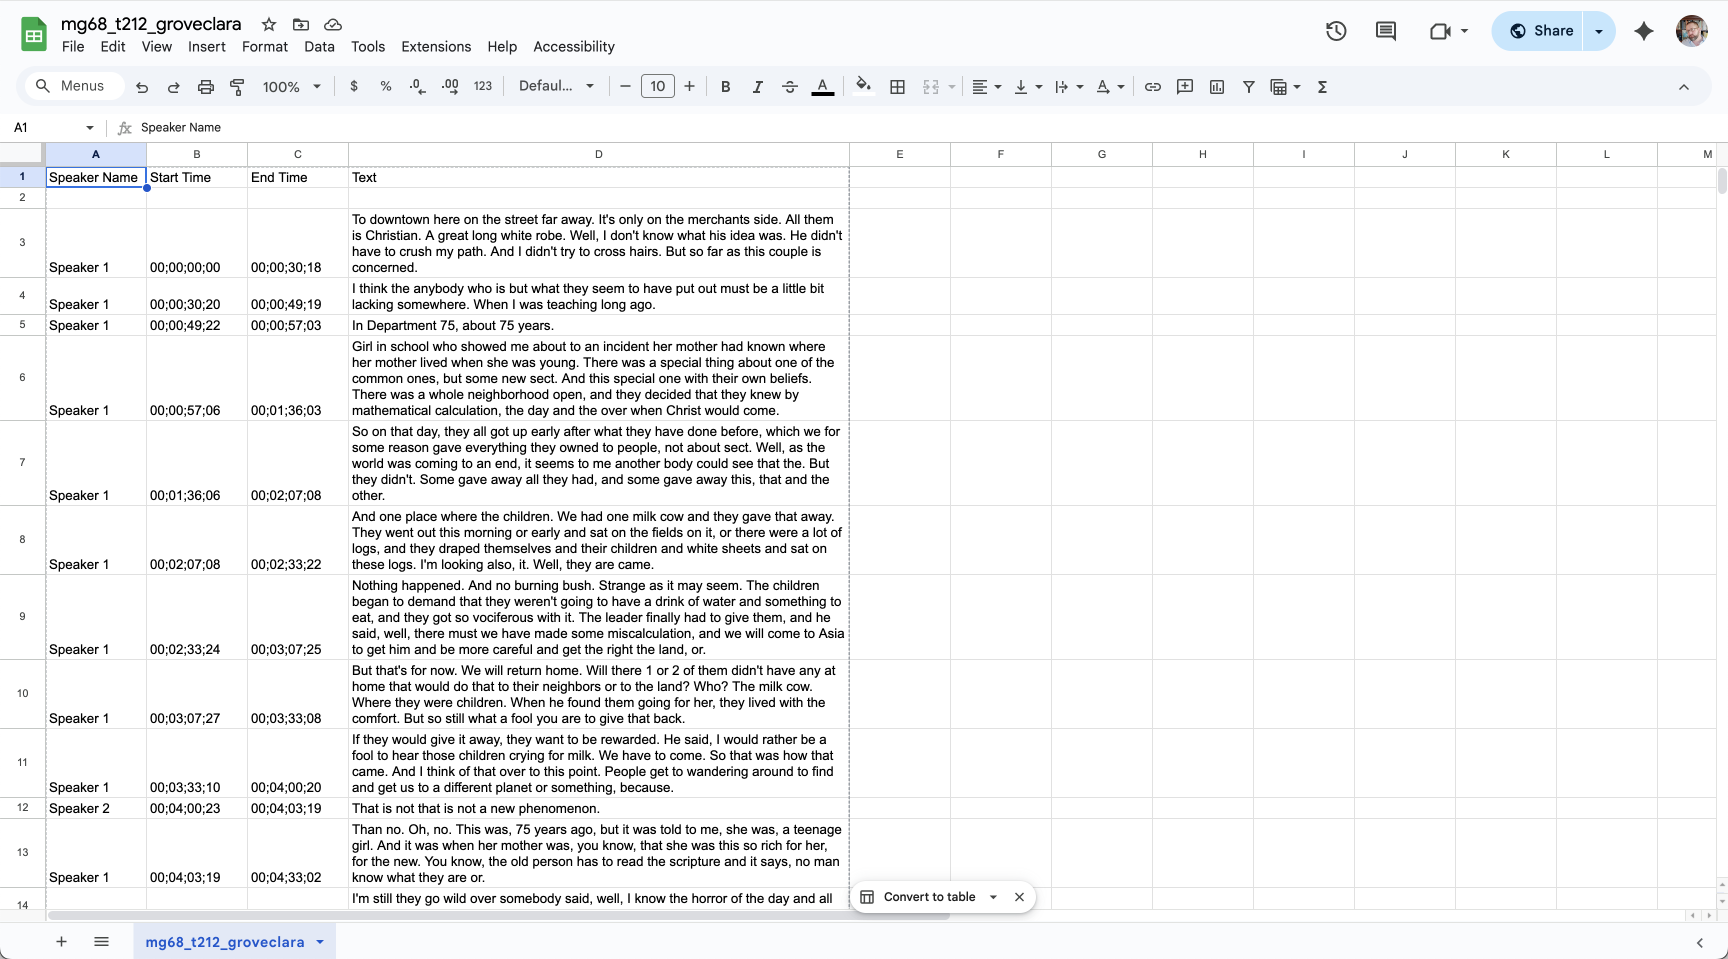
Once completed, you should have timestamps, generic speaker names (Speaker 1, Speaker 2, etc.) and dialogue
![Screenshot of CSV with transcript between two speakers, timestamps and dialogue.]()
Example of Premiere Transcript output in Google Sheets


Editing and Exporting Transcripts
- While Adobe Sensei is one of the better transcription models we’ve tested, you will run into errors depending on the quality of the recording and the similarity of the speaker’s voices
One of the handy things about editing your transcripts in Premiere is that playback follows the text in the Transcript window, so it is a smoother workflow than coordinating with the audio player in one window and the transcript text in another
-
To edit the speaker names (which default to Speaker 1, Speaker 2, etc.) select the ellipses to the left of the dialogue, edit or add additional speakers
![Screenshot of the Premiere interface with red arrows pointing to the ellipses on the dialogue of the Transcript window, which opens the Edit Speakers module.]()
-
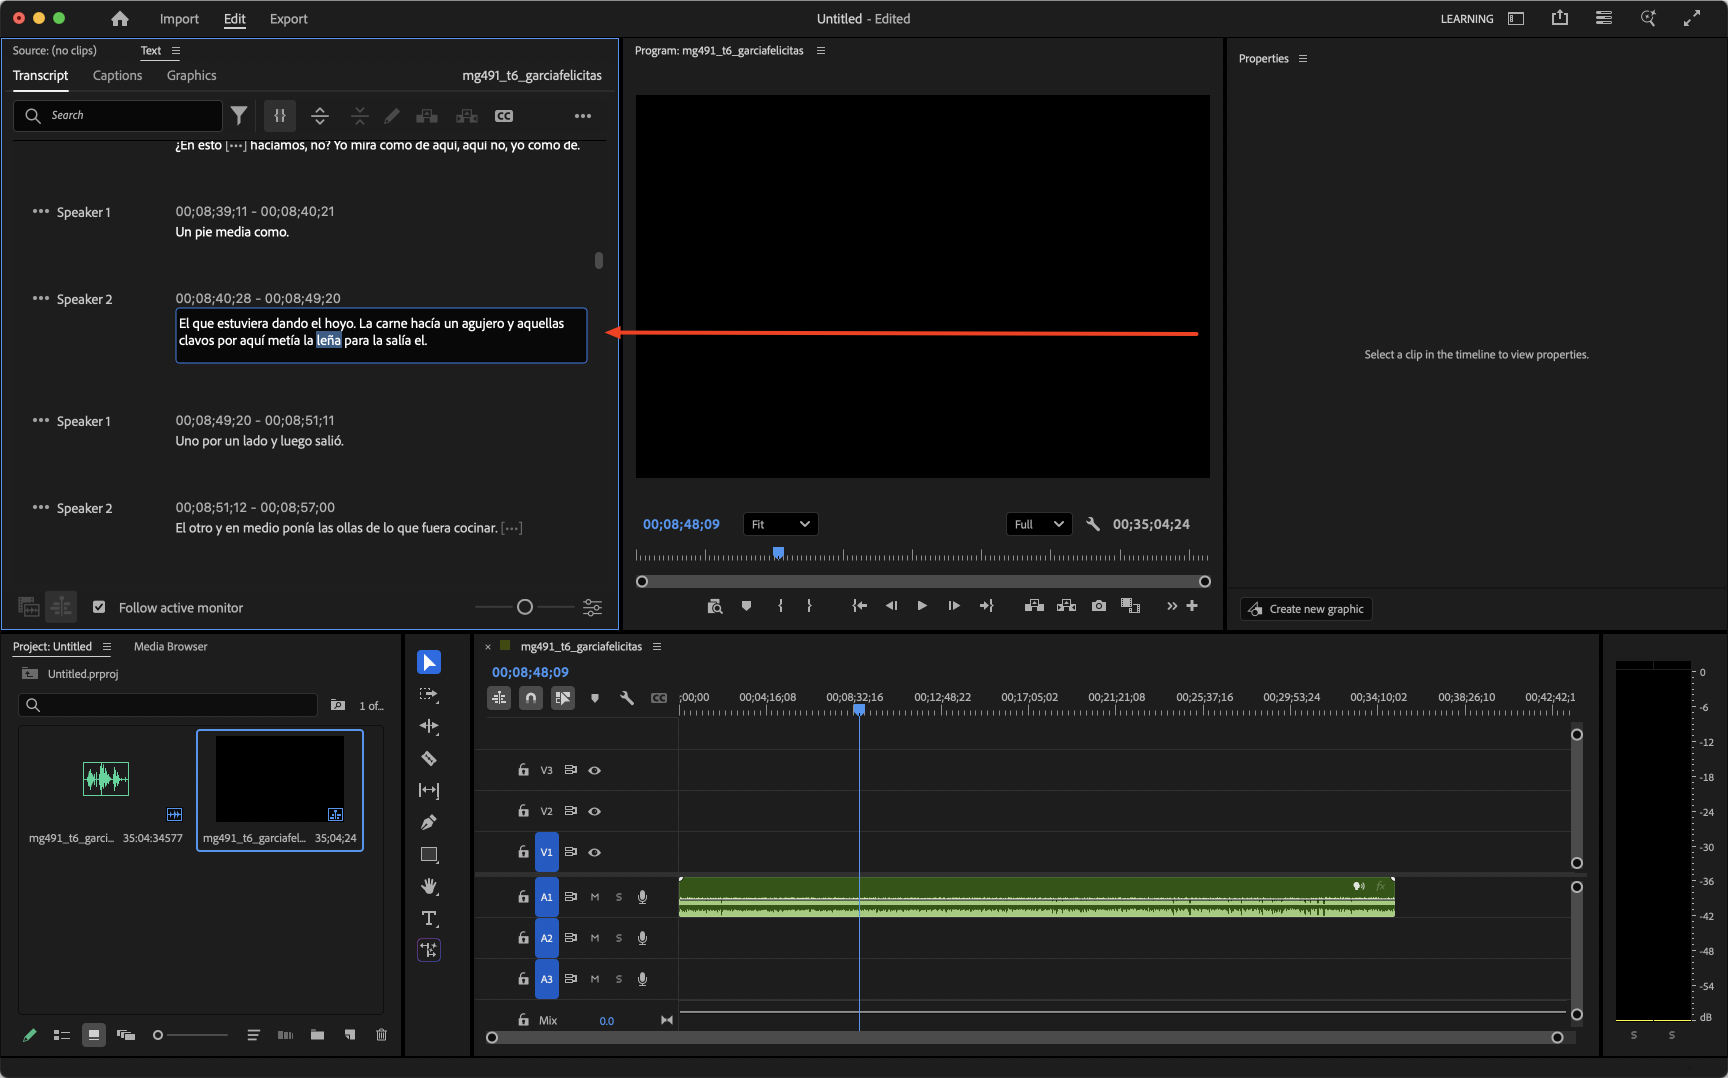
To edit the dialogue, simply double click whichever passage need configuring
![Screenshot of the Premiere interface with red arrows pointing a section of dialogue being edited.]()
-
While cleaning up dialogue is easy to do in Premiere, if you need to combine dialogue sections or create new fields, these will need to be done in a spreadsheet or document
-
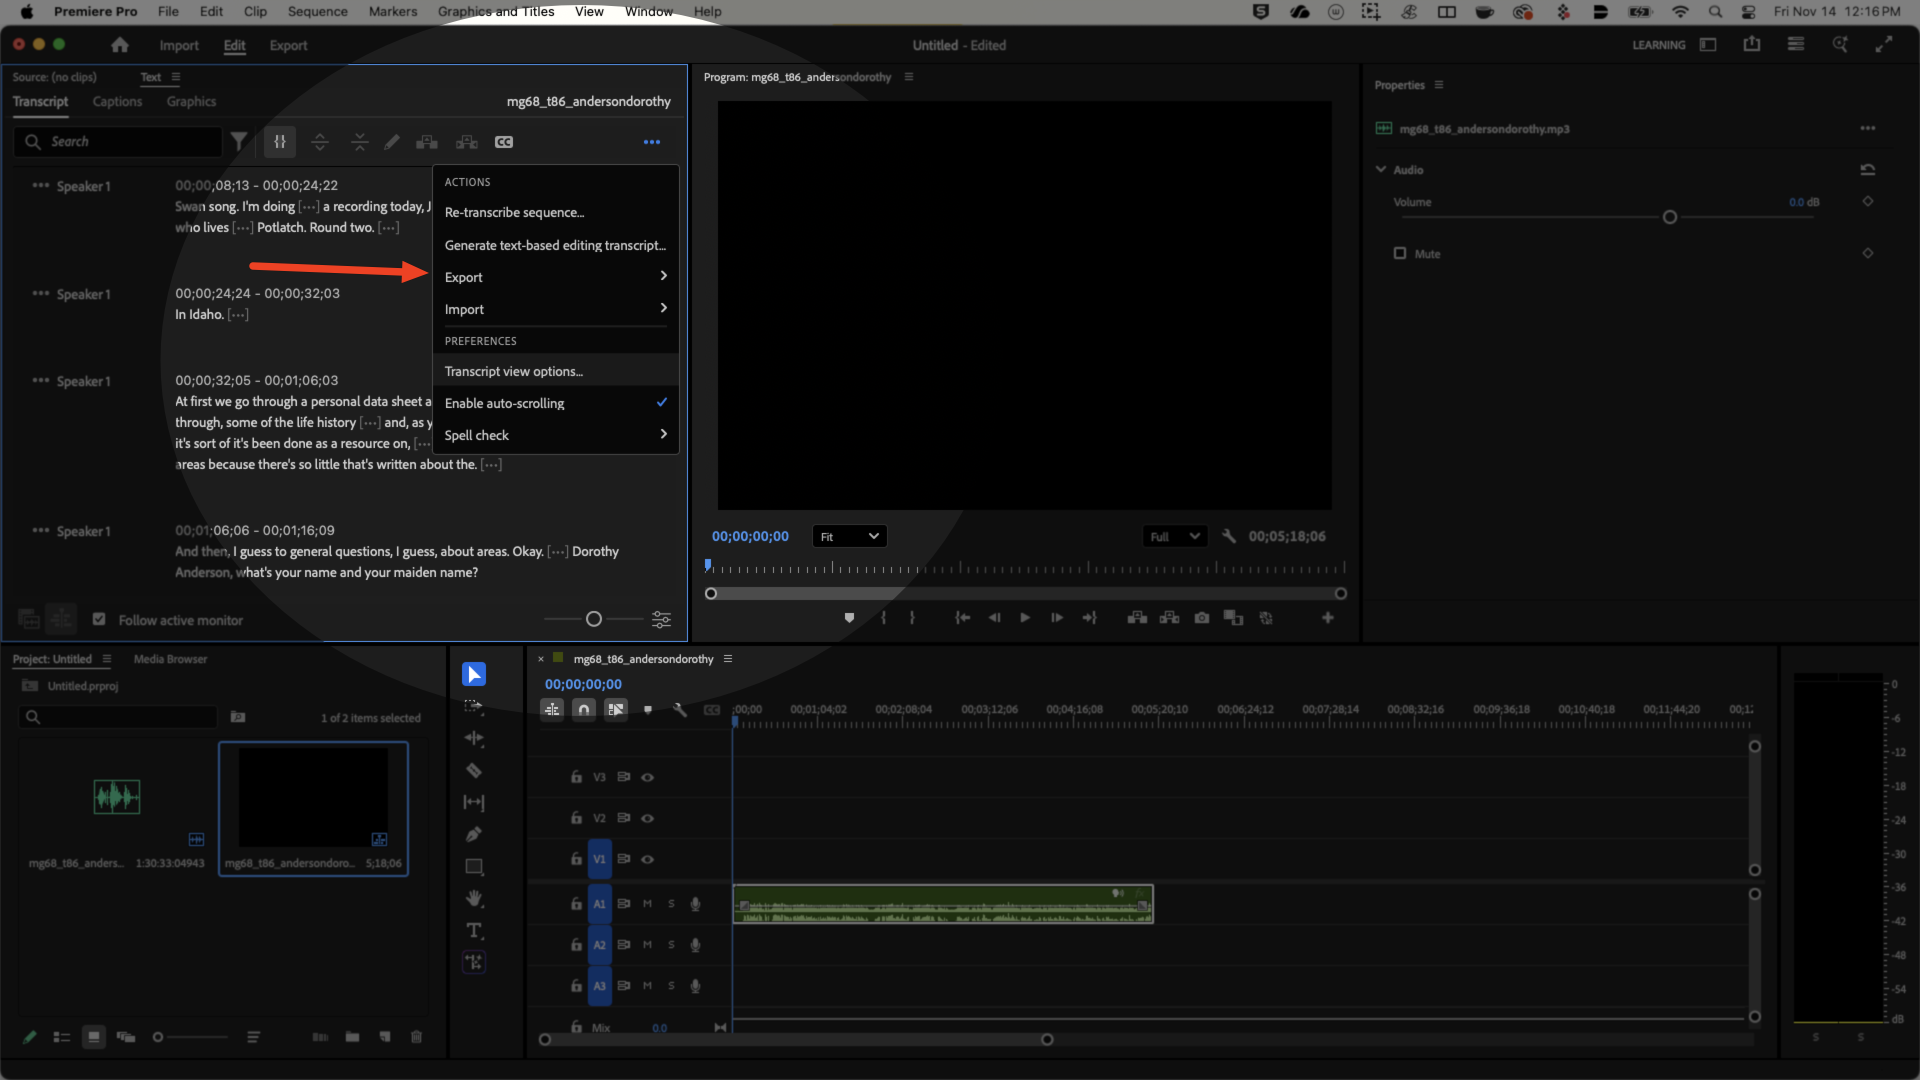
To export, click the ellipses on the
Textwindow, findExportand choose eitherCSVfor a spreadsheet orTXTfor a document![Screenshot of Premiere interface with highlight of transcript window and red arrow pointing to Export function.]()

Creating Captions
-
First, select the
CCCreate Captions button in theTranscriptwindow![Screenshot of Premiere interface with an arrow pointing to the Create Captions button in the Transcript window.]()
-
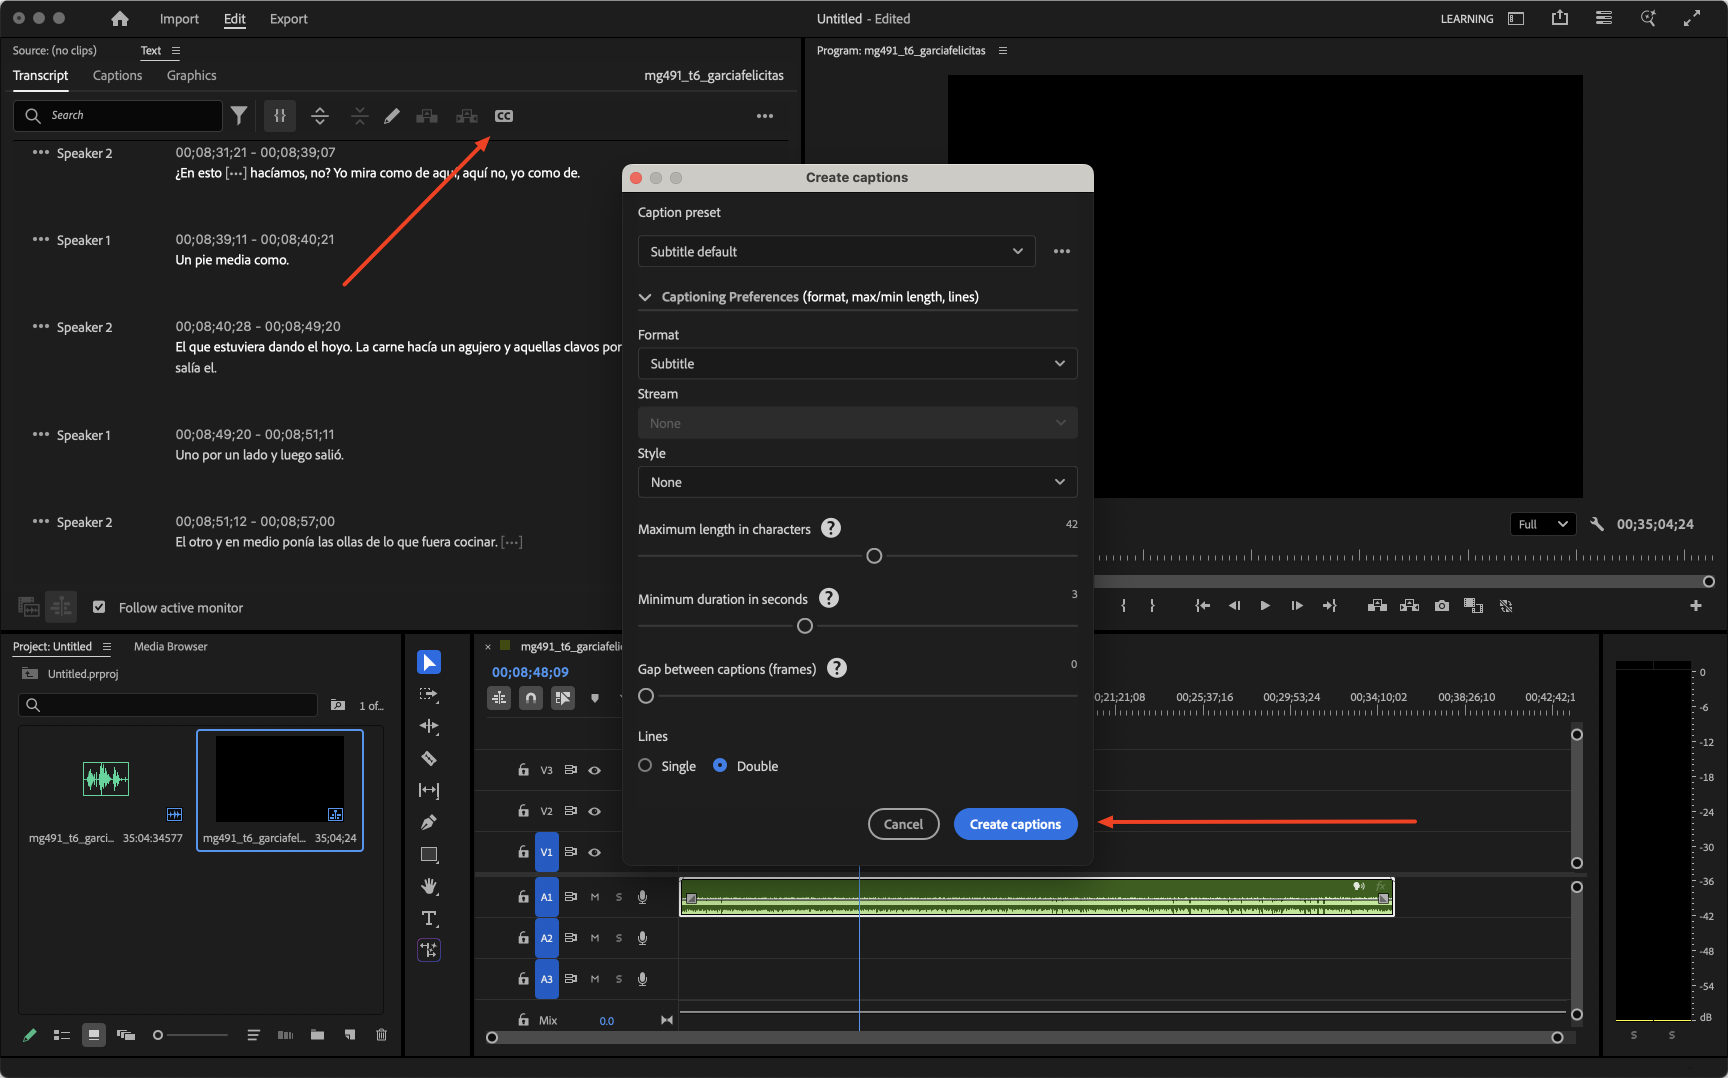
This will open a
Create Captionsmodule that will have some options for formatting, spacing and how many lines you would like the captions to display as![Screenshot of Premiere interface with an arrow pointing to the Create Captions button.]()
-
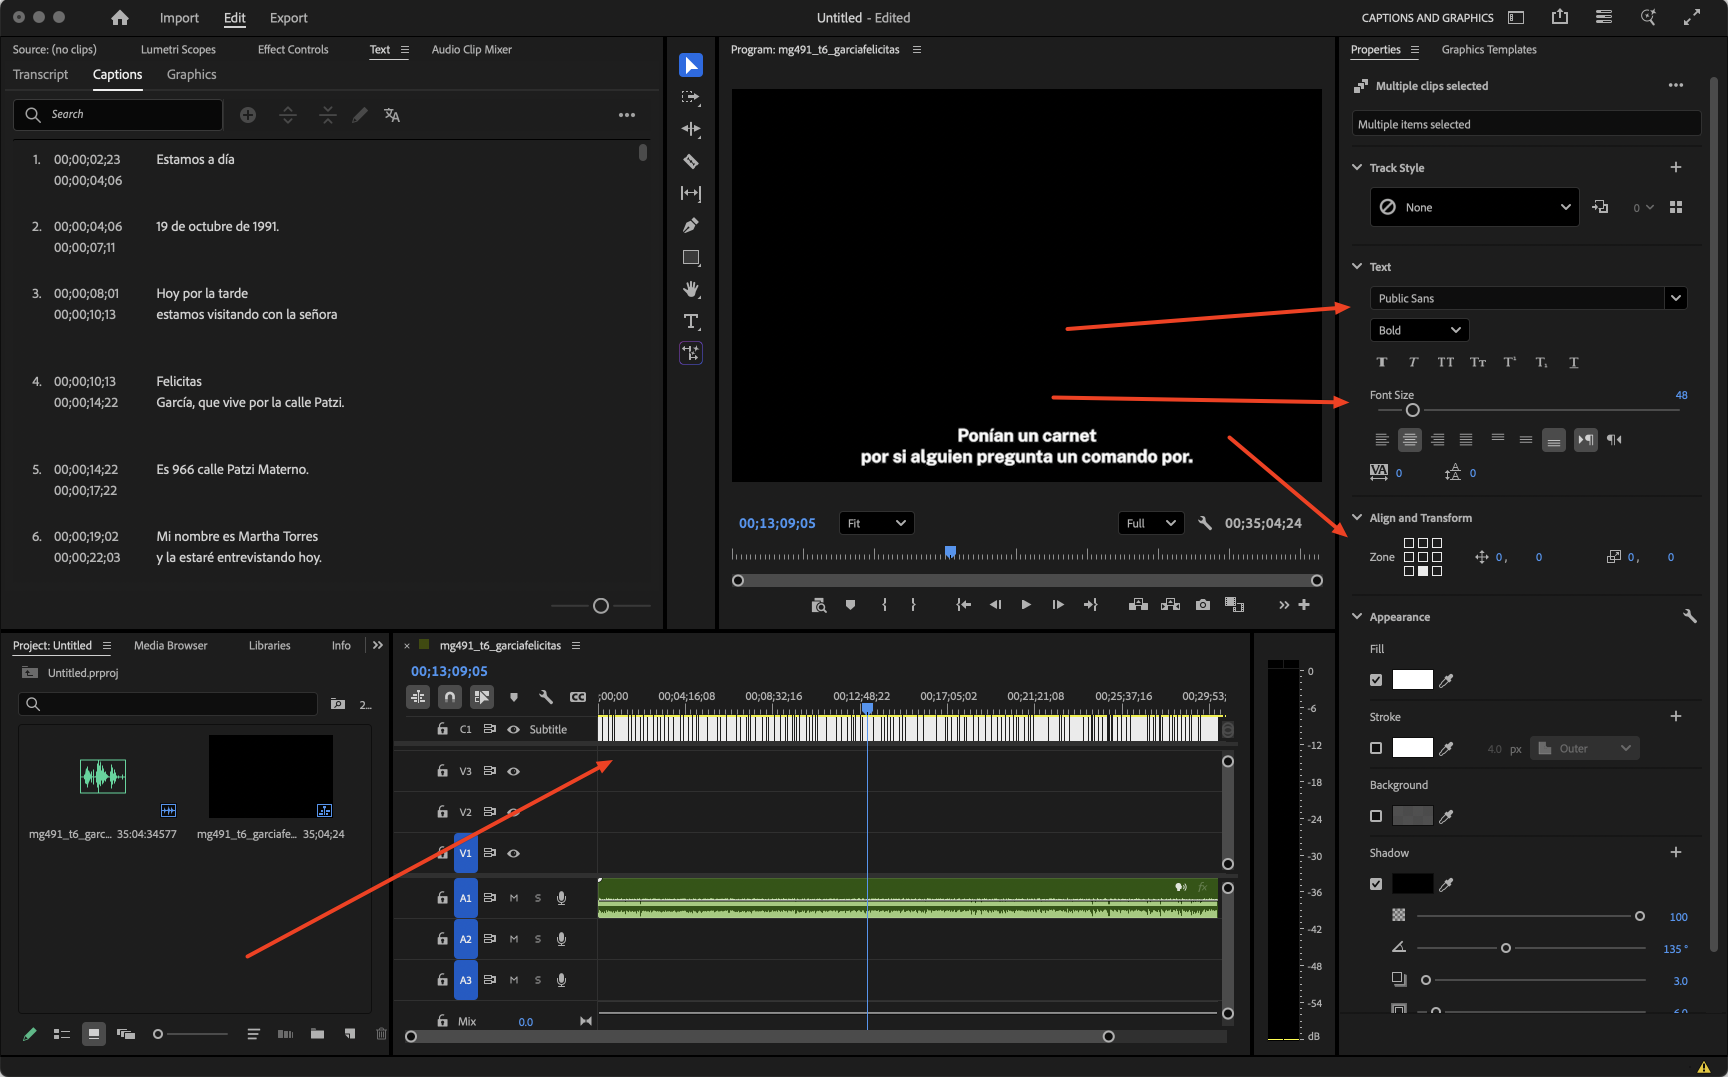
This will create a caption track, displayed above the video track on the timeline. To adjust the font, size and area that the captions will be displayed, select the entire track of dialogue in the timeline, then select
Windowfrom the top menu, thenWorkspaces, thenCaptioning and Graphics.

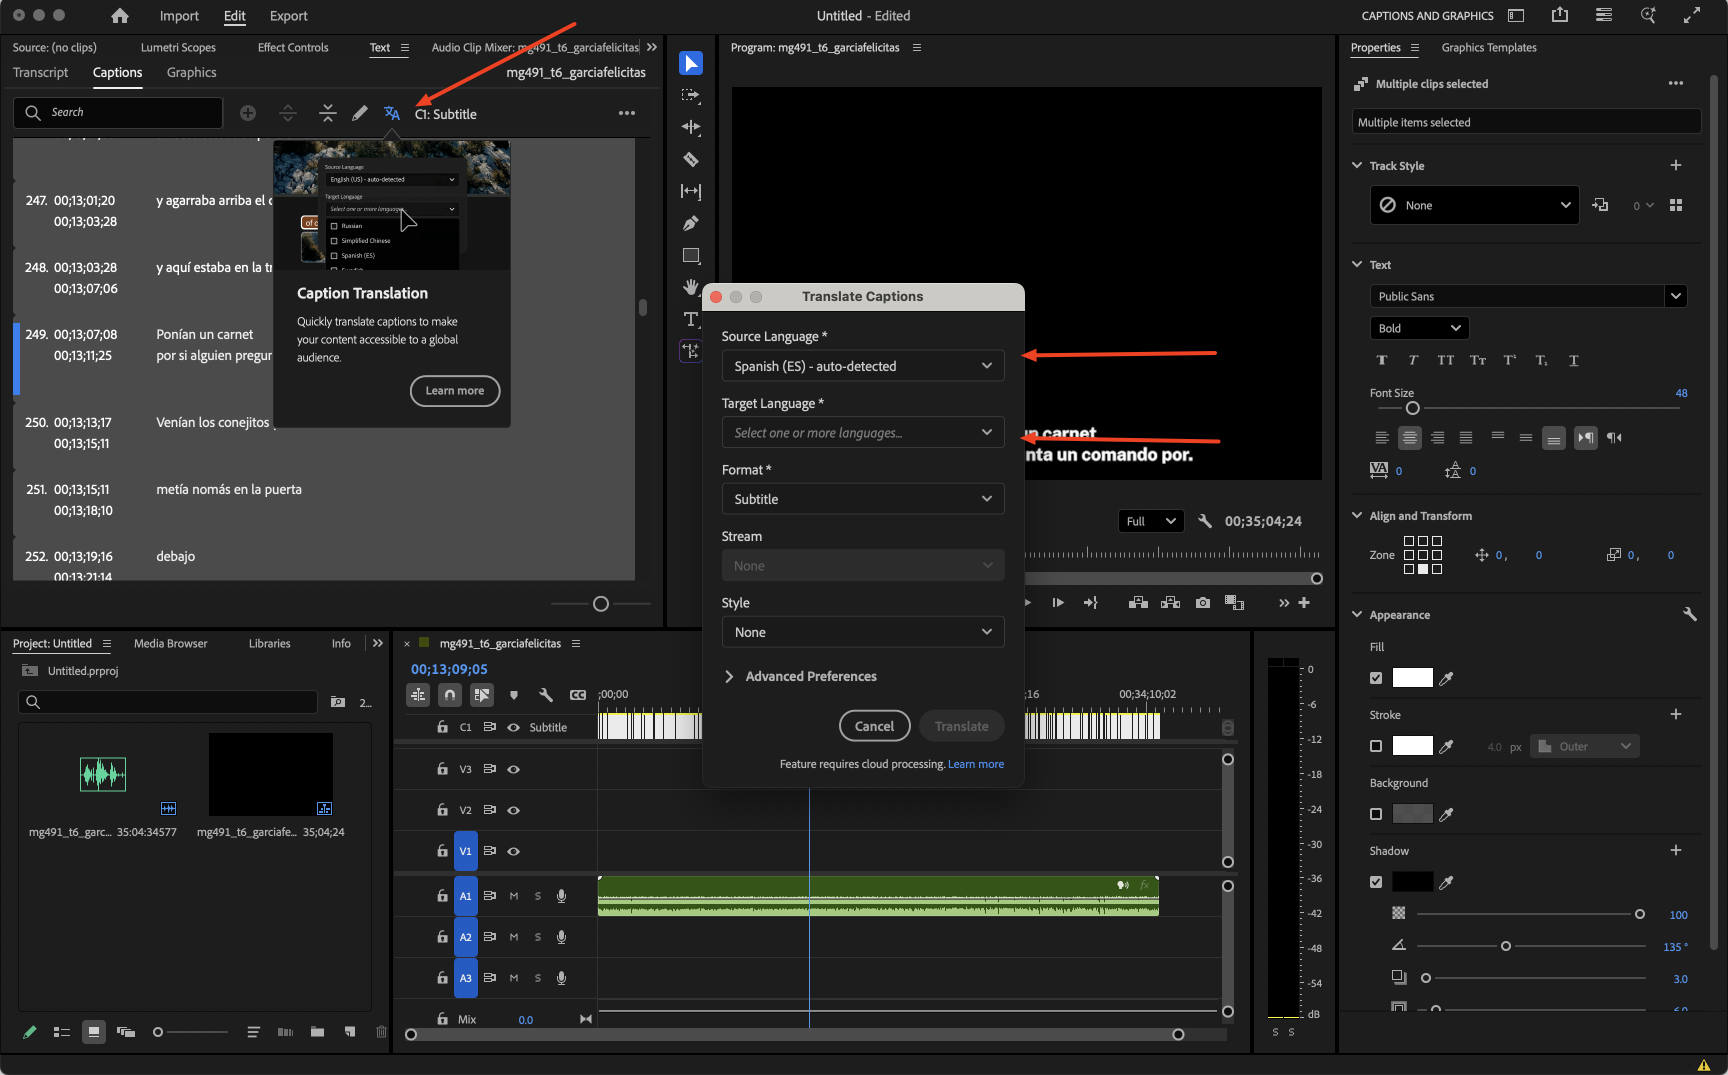
- To add a translated caption, select the
Caption Translationbutton, then configure the correct source language as well as what you would like the language to be translated to
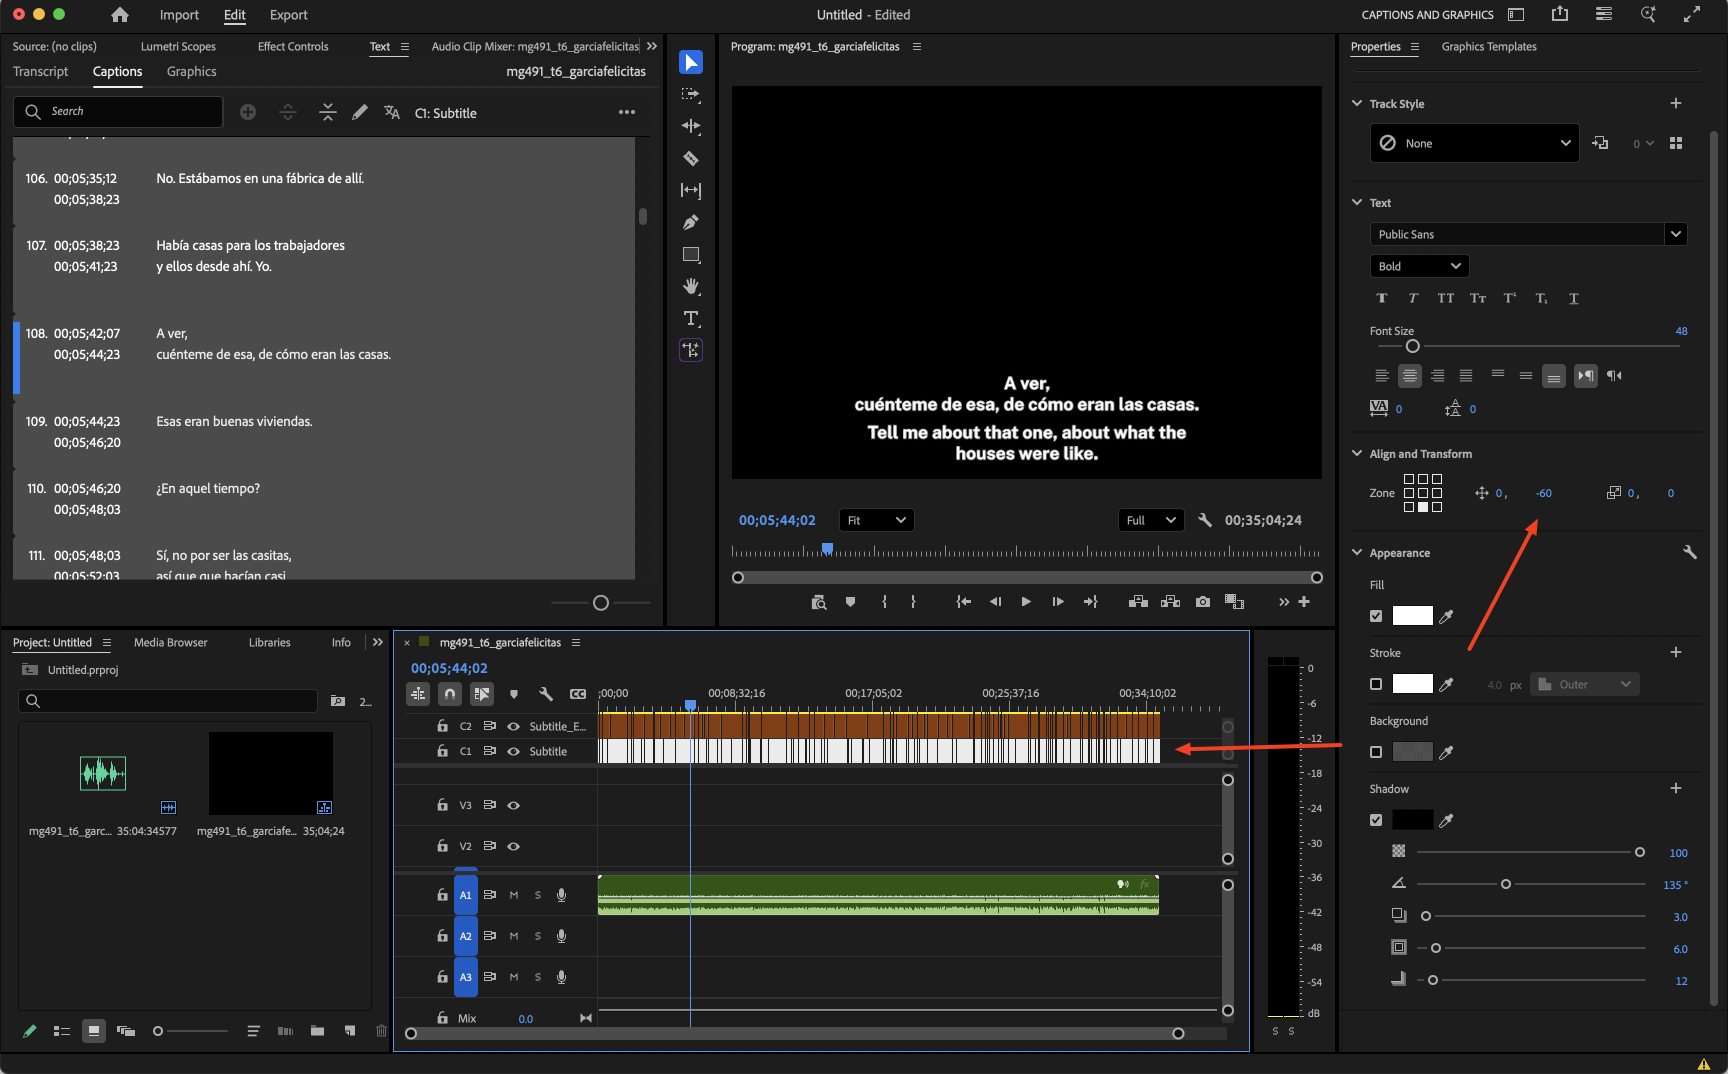
- Finally, adjust the positioning of the captions so they don’t overlap. In this case, I have configured both caption tracks to display in two lines. By adjusting the
Set Vertical Positionof the Spanish language track to -60.00, this lifts the text up over the English language while still being generally oriented at the bottom of the display. Setting this to -30.00 should work if you chose to have captions generate in a single line display.
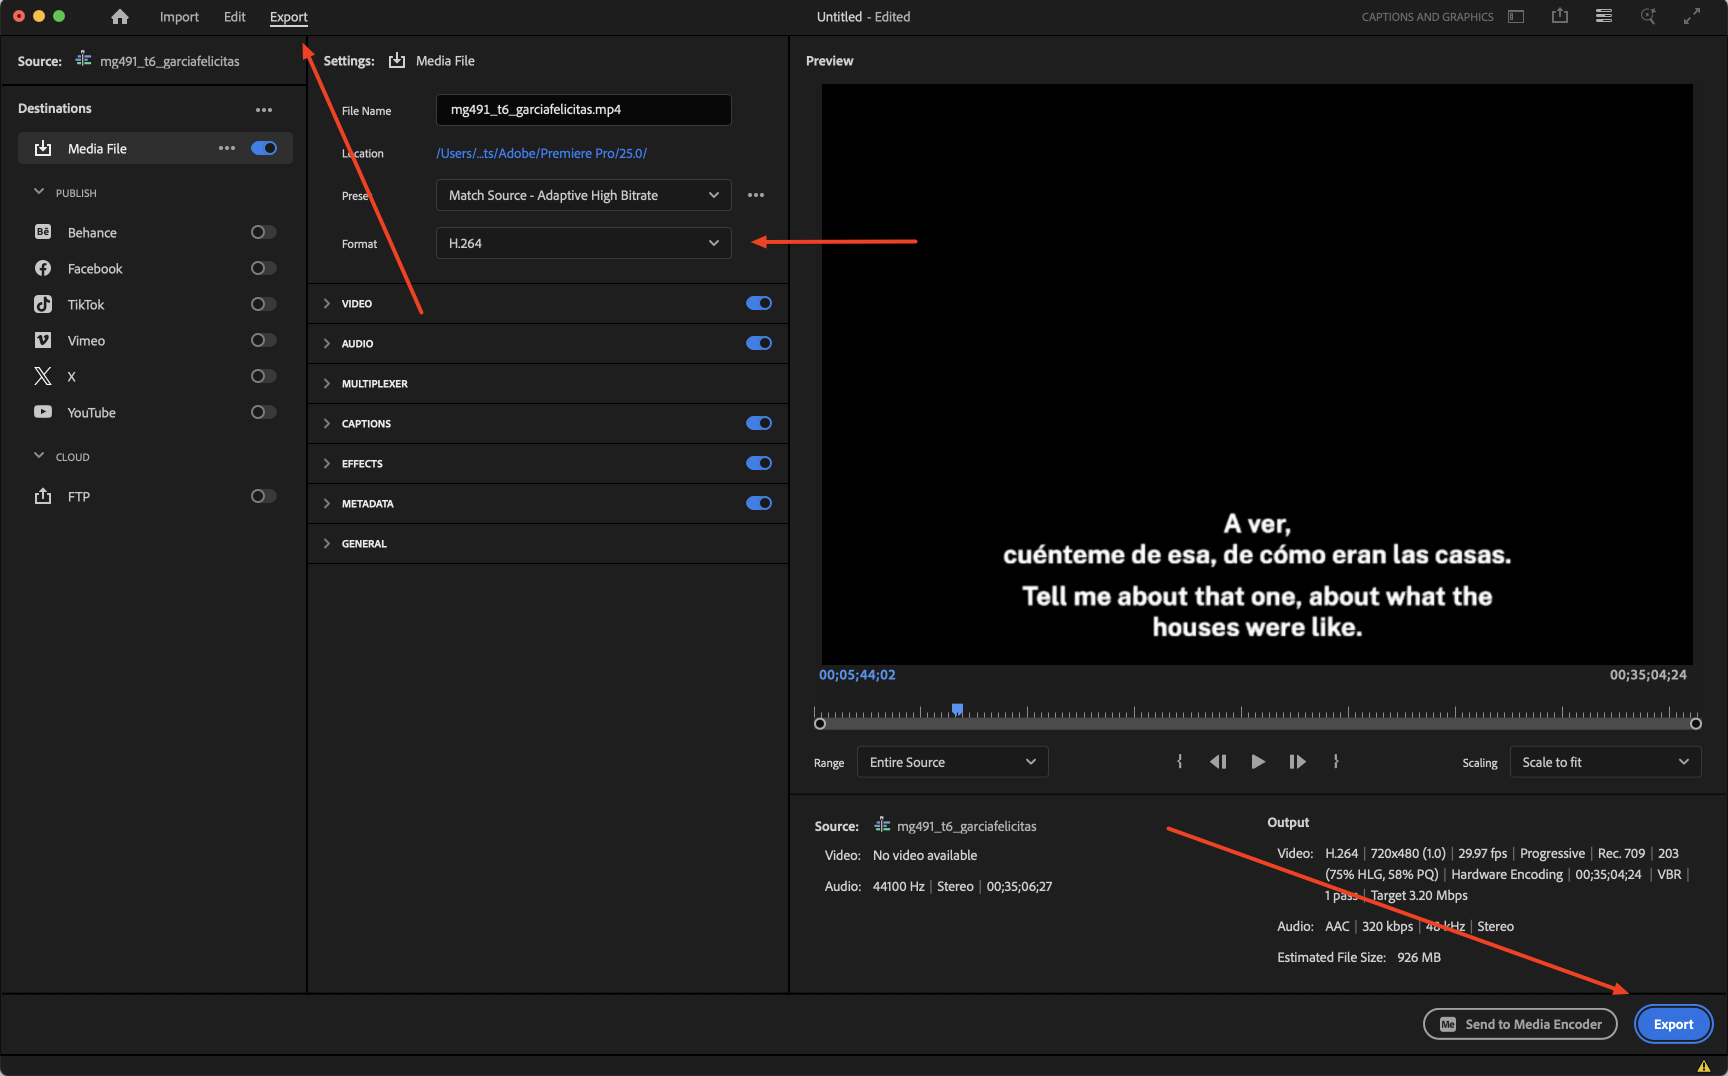
- To export these captions, select
Exportfrom the top left. Within this menu you can adjust your file name, export destination, and choose to export as a video, audio, gif or image file in theFormatsection (default will be mp4, which is a solid, lower file size option). When you have everything configured, select theExportfunction in the lower right hand corner.
✺
      ________                ╭──────╮
     /         \             /        \
    |           |           |   ╭──╮   |
    | TRANSCRIPT|          |    │CC│    |
    |   -----   |         |     ╰──╯     |
    |  ( •‿^ )  |         |   ( ^‿• )    |
    |   <   >   |          |    l  l    |
     \_________/             \  |  |  /
        /   \                 \______/
       /_____\               /   |   \
        |   |               /____|____\
       (b) (b)             (b)        (b)
That's it! Enjoy your accessible transcript file and/or captioned media!