Getting Started
Contents: Zotero | Syncing Account | Obsidian | Considering Folder Structures | GitHub | Visual Studio Code
Zotero
To begin, first create an account by visiting the user login page and selecting Register for a Free Account, where you will create a username, add email and password. After validating your email address, visit the downloads page and select the desktop app icon. On Windows, you will simply run the setup program Zotero provides. On a Mac the only step you need to do is to drag your .dmg file from the downloads folder into your applications folder before opening. If you happen to be on Linux, please reference these setup instructions provided by Zotero.
Syncing Account
Once you open the Zotero desktop application for the first time, go to your menu, select Zotero > Settings > Sync > Link Account, where you will be prompted to enter your username and password you just created. Once this is complete, close the settings pop-up and click the green circular arrow button on the top right of the application to test syncing. Considering you just created an account and have no items, this shouldn’t take long – but as long as you don’t have a little red exclamation mark that appears you are synced! This means that you have a version of your document saved locally on your device in your Zotero folder as well as an updated version on your web library, which will update when you sync the Zotero desktop app on other devices.
Note: If you have multiple desktops and laptops that you would like to use with your Zotero account, this is no problem! There is no maximum number of “chairs” a user with a free account can access. Simply download the desktop application on the new device and enter your username and password again in the settings to sync between multiple devices.
This is all you need to know to use the annotation workflow but please see my Introduction to Zotero workshop for more functionalities.
◒
Obsidian
To create an Obsidian account, you will first need to download the application which is supported in Windows, Mac, Linux, IOS and Android. As I mentioned, Obsidian does have paid Sync and Publish features but you don’t need either for this workflow. Instead, create a vault simply by creating a folder in cloud based storage such as OneDrive or Google Drive, Open Vault in Obsidian and select that folder.
Note that whichever cloud based storage you choose may dictate your accessibility on other devices. For example, because I chose my University of Idaho OneDrive for a vault, I cannot access this material on my Android app due to OIT privacy standards but I can access it on all of my various laptop and desktops. This works fine for my research needs but you may need to host your vaults on personal cloud storage if you need mobile access to notes.

Considering Folder Structures
Another thing to consider is the scope of your vault when you are creating it. When I first started experimenting with Obsidian, I was using it essentially like a Google Drive with many different Google Sheets in each folder containing meeting notes, ideas for different workshops and various to-do lists. While having a keyword searchable grab bag of notes in Google Drive or Microsoft OneDrive is fine if not ideal, Obsidian is most effective when your vault has a specific scope.
Although there are ways to collaborate on a vault using either a shared cloud space or a GitHub repository (both not without potential syncing issues), Obsidian is really designed as a personal knowledge management tool and it works best when you are analyzing a somewhat limited pool of documents. This may be a single research paper, course or academic discipline that you want to tag, categorize and analyze.
✺
GitHub
-
Now that we have our Zotero and Obsidian account and we’ve considered the vault structure, you will need to create an account with GitHub, a cloud-based platform that allows developers to store, share and collaborate on code.
-
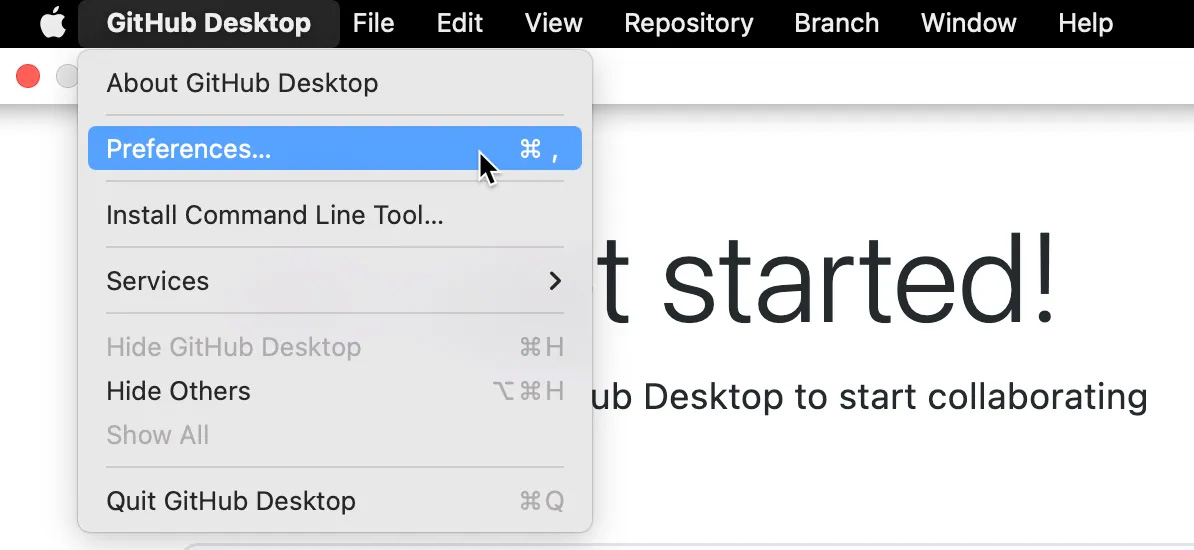
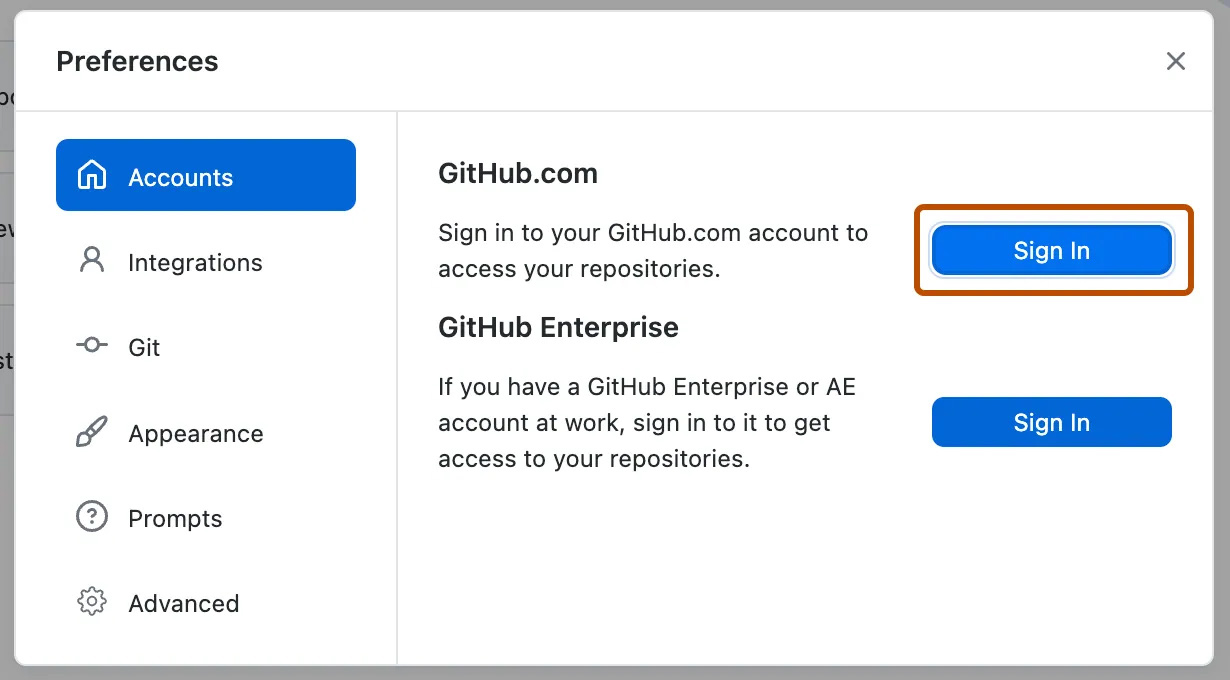
After you have an account, download GitHub Desktop and, with your Git web browser open, sign through Preferences > Accounts, which will prompt your browser to verify.
- Think of GitHub Desktop as a bridge between your GitHub’s web browser and your local GitHub folder, which is saving you from learning a little coding that you would otherwise need to do on the command line.
Visual Studio Code
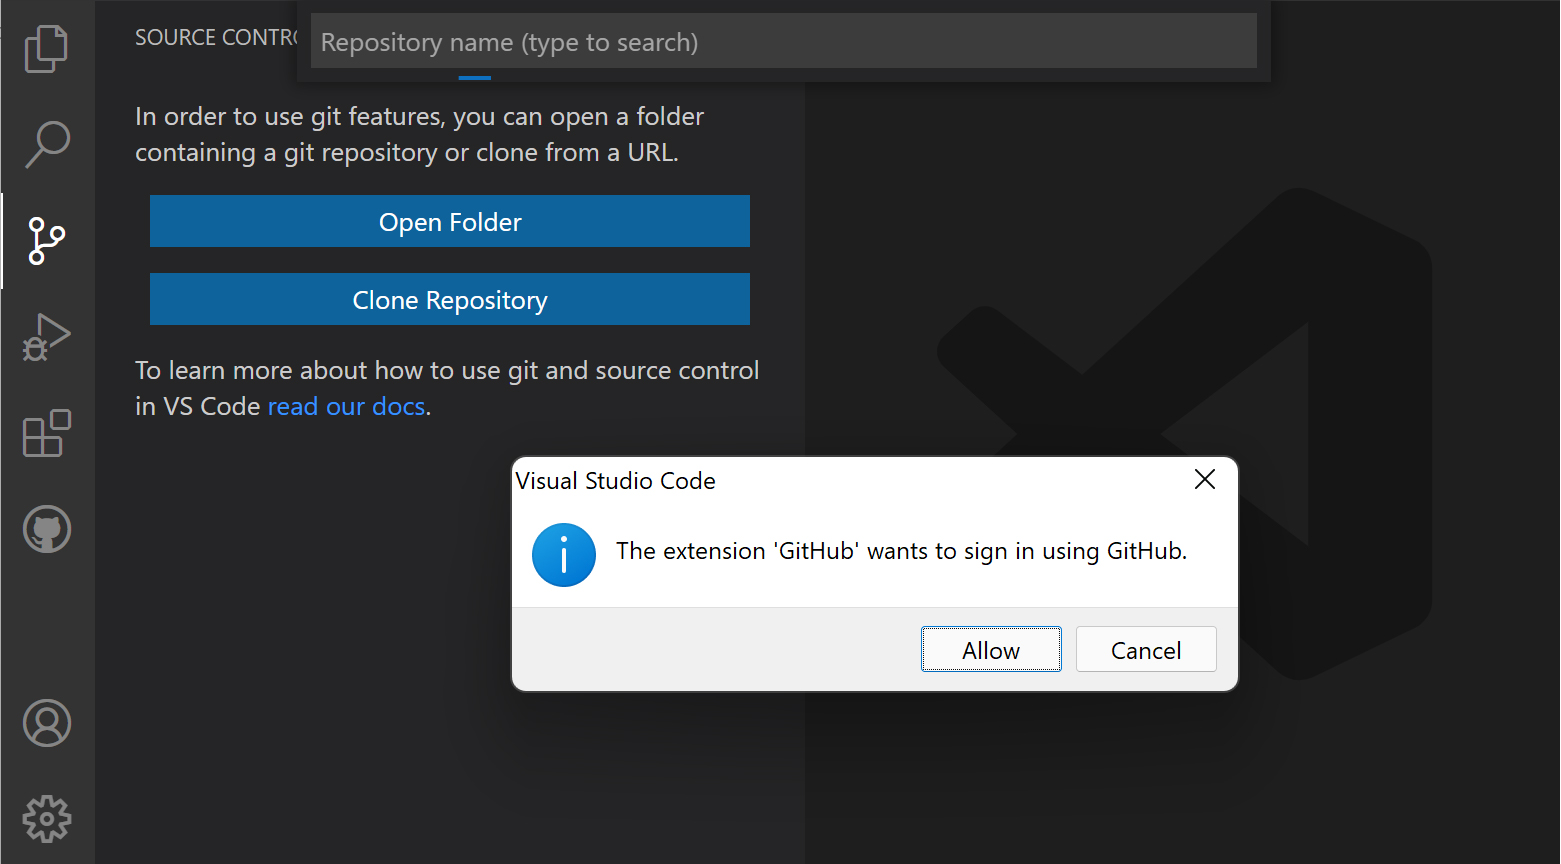
- Next download a text editor. A simple, no cost option that most of us use in the CDIL is Visual Studio Code. Signing in through the settings widget on the bottom left of the interface will prompt the same verification of your GitHub account through the web browser.
- Now that these elements are connected, you should be able to clone the Annotation Extraction Tool Python tool by pushing the green
Codebutton and selectingOpen with GitHub Desktop.
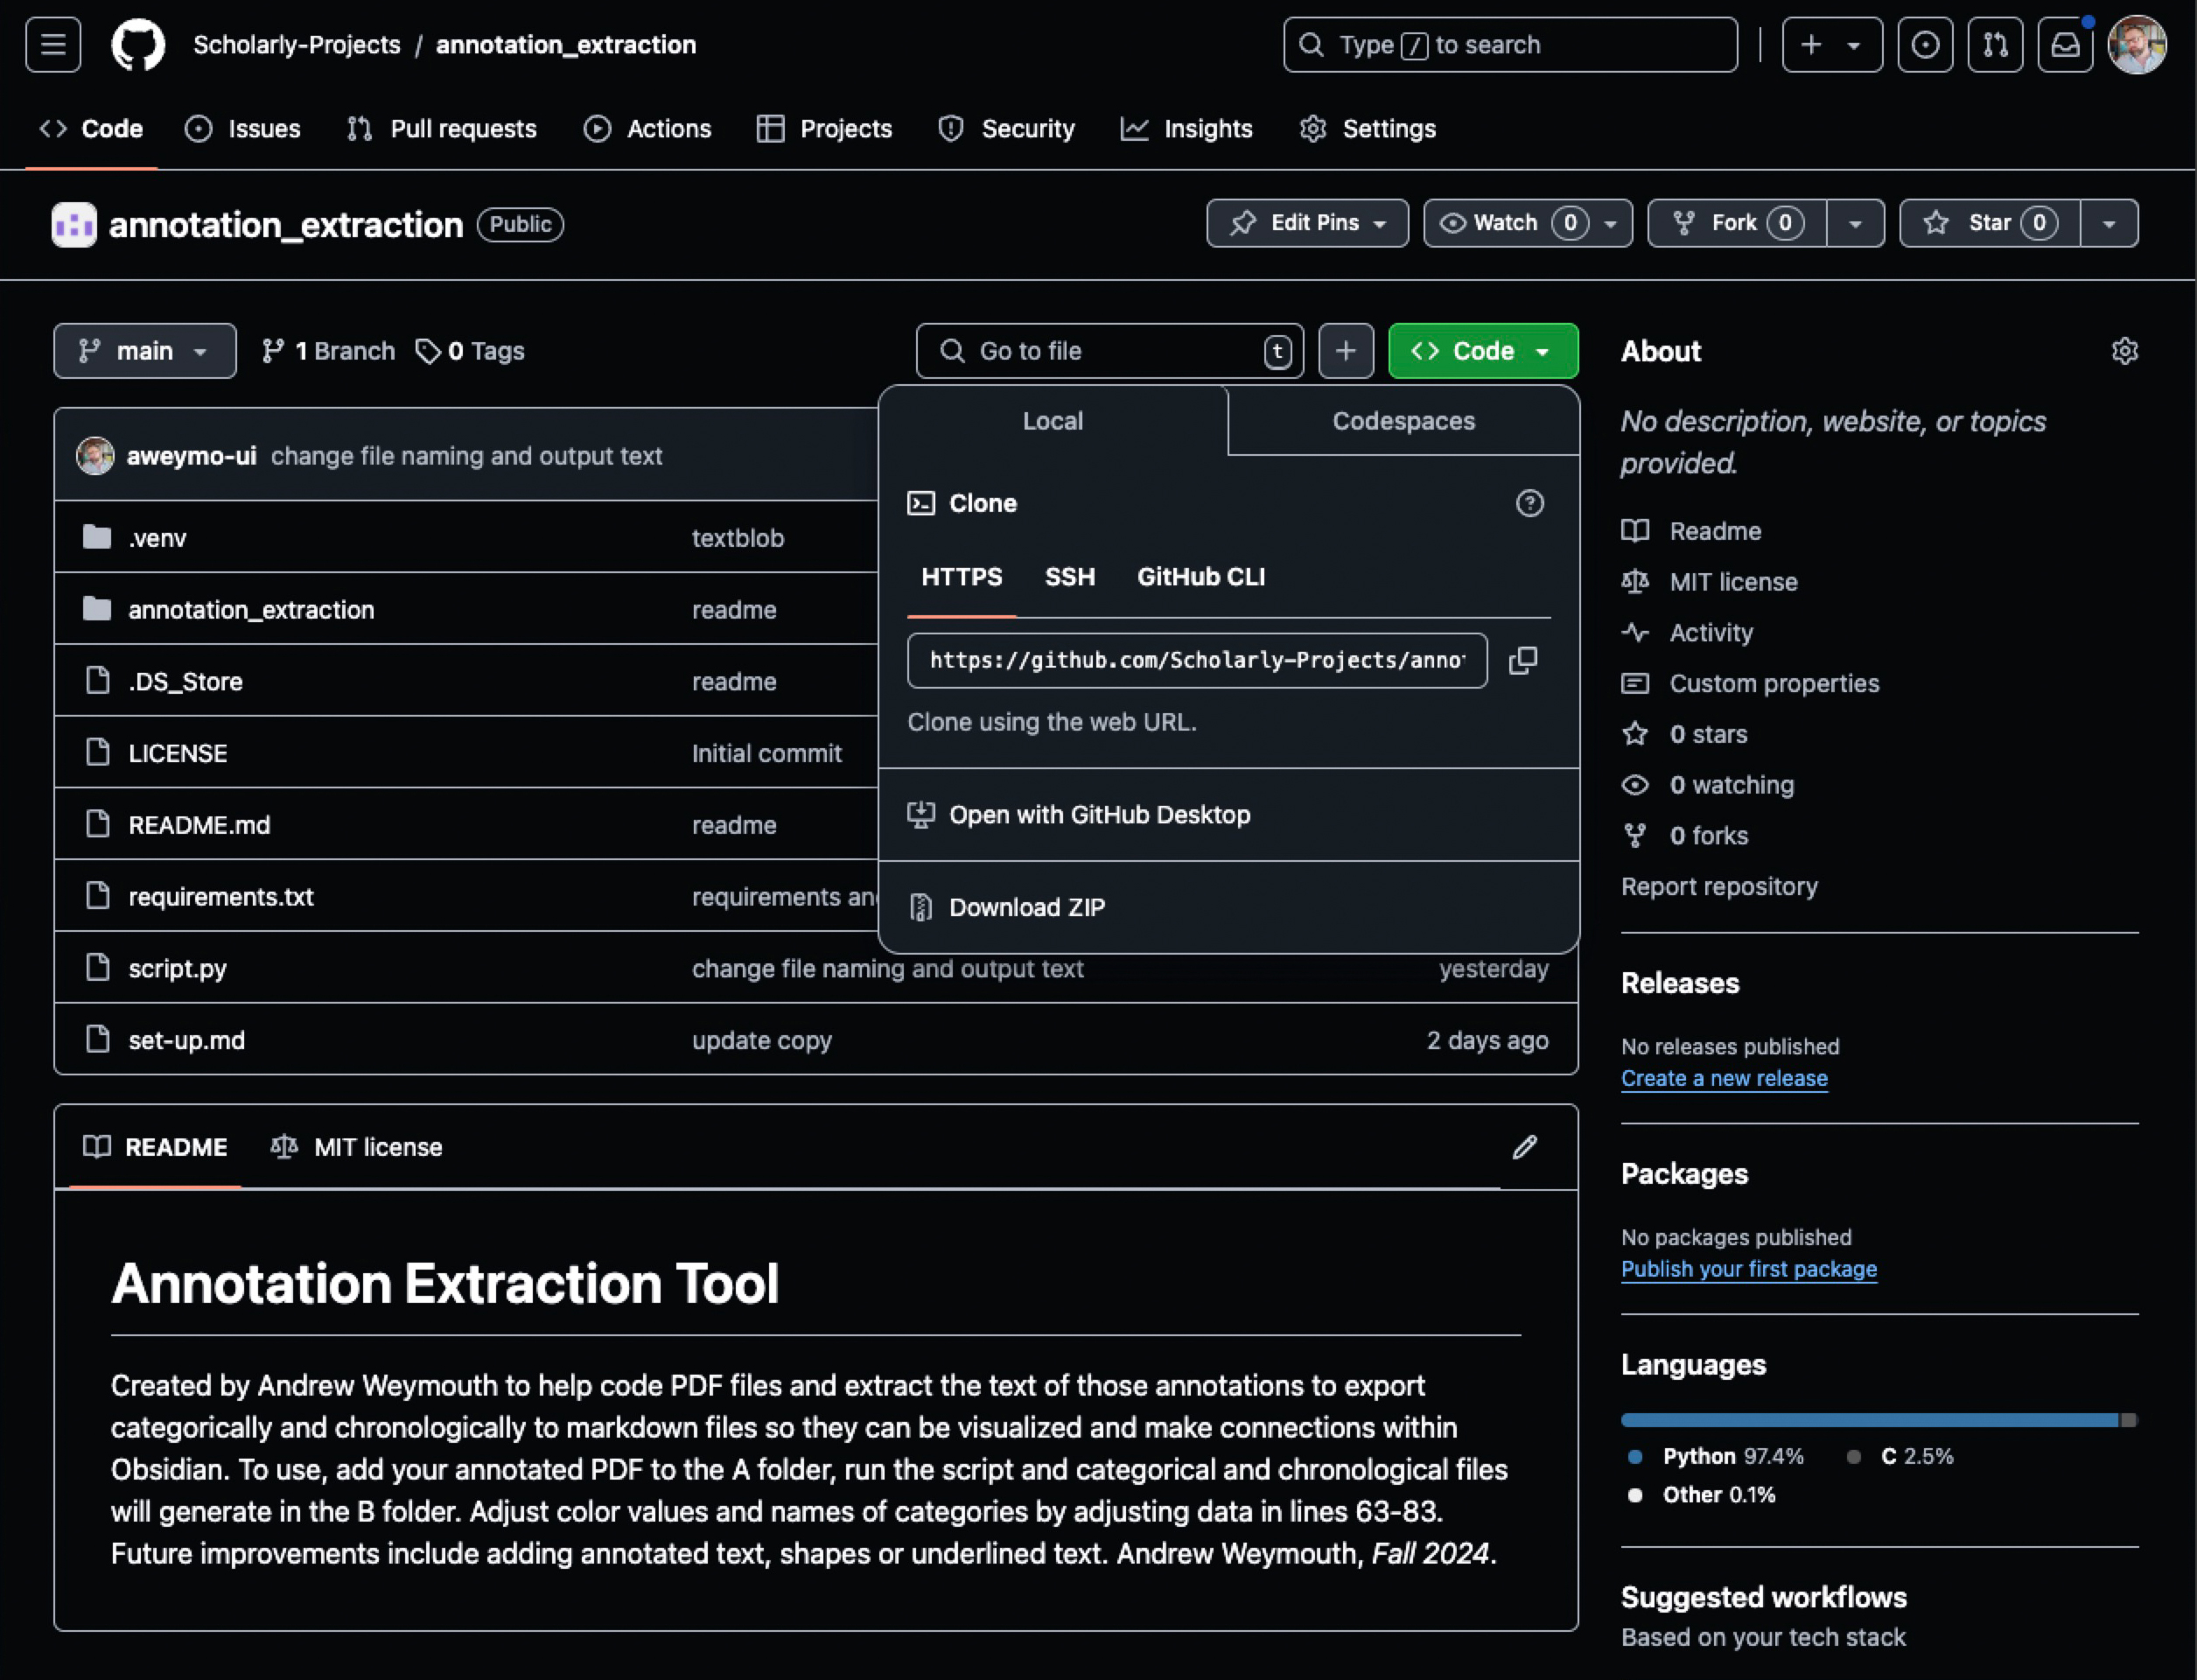
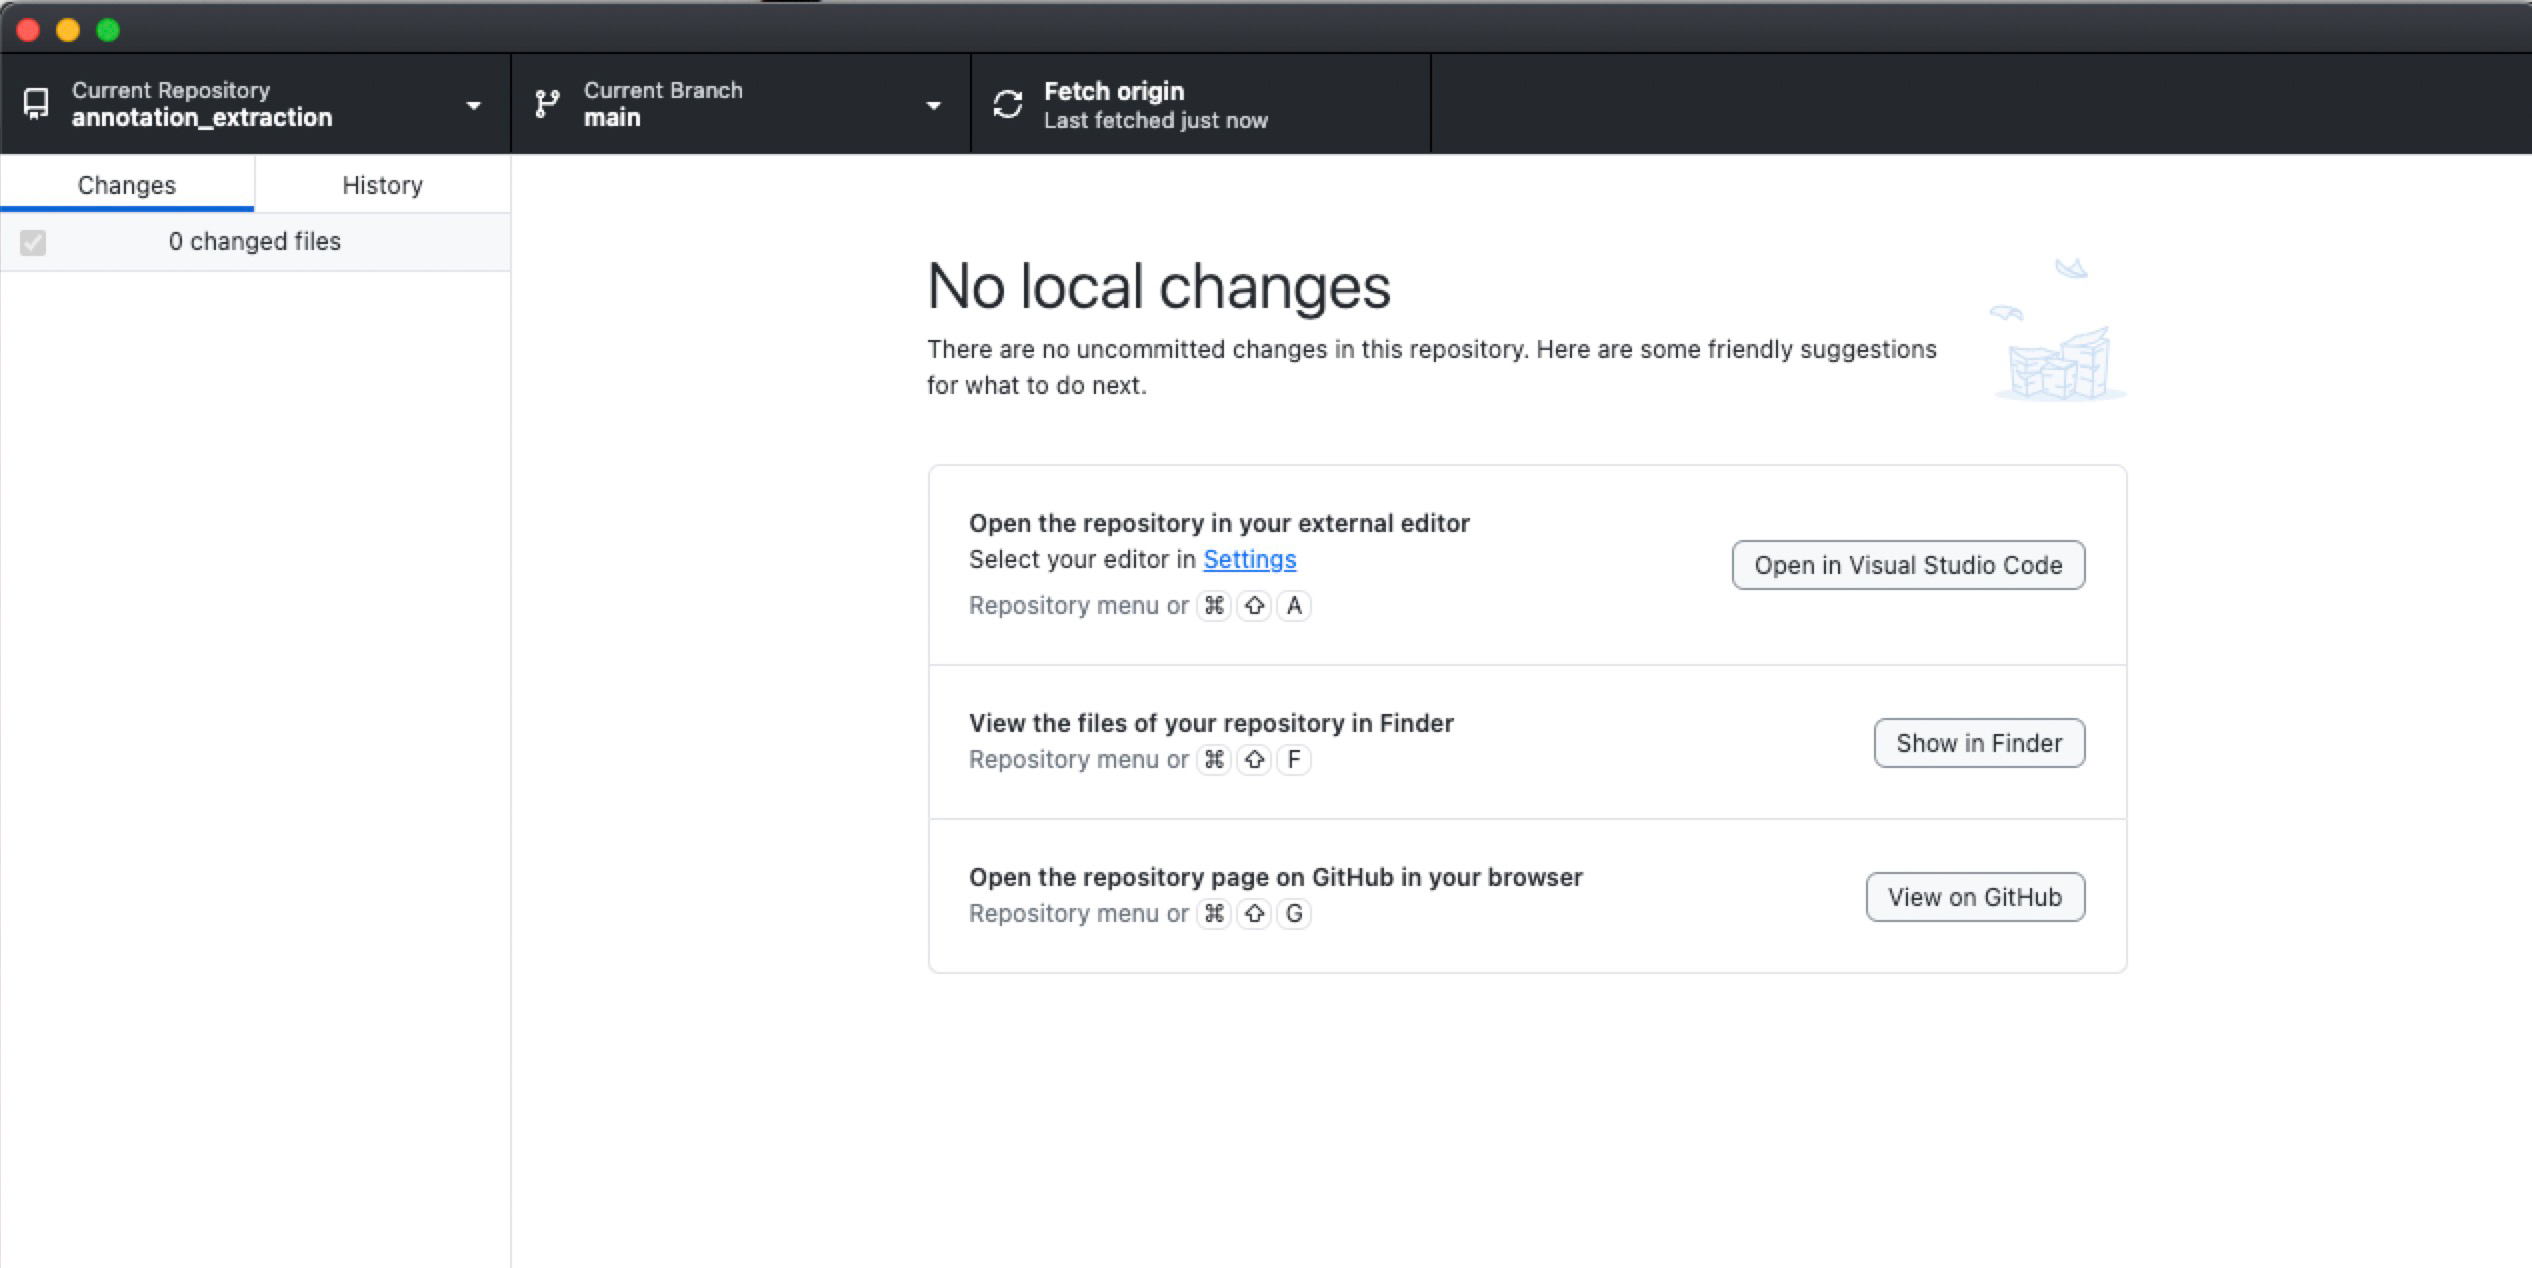
- In GitHub Desktop, select
Fetch Originand then selectOpen in Visual Studio Codeto begin!
✺