Accounts
Obsidian
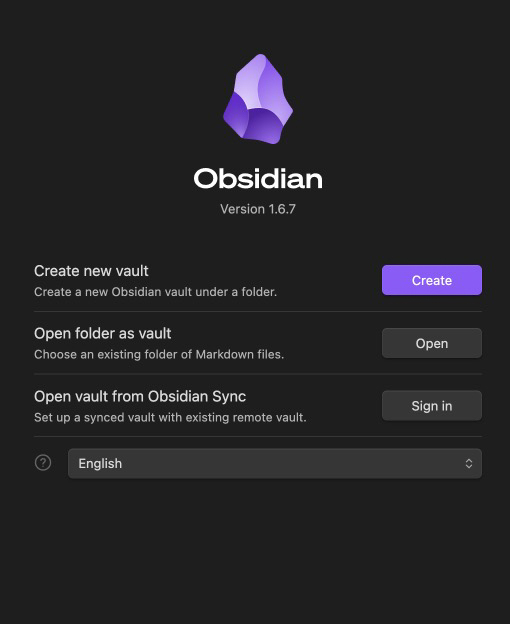
To create an Obsidian account, you will first need to download the application which is supported in Windows, Mac, Linux, IOS and Android. Afterwards, you will create an account. Note that Obsidian does have a paid Sync and Publish features but you don’t need either for everything we will cover in this presentation. Each workspace you create in Obsidian is a folder that they call a vault.
✺
You can create a syncing vault simply by creating a folder in a cloud based storage such as OneDrive or Google Drive, choosing Open Vault in the Obsidian file drop down and selecting that folder. Note that whichever cloud based storage you choose may dictate your accessibility on other devices. For example, because I chose my University of Idaho OneDrive for a vault I’ll be talking about today, I can access this vault on the Android app due to OIT privacy standards but I can access it on all of my various laptop and desktops, which works for the capacity that I usually need these notes.
Considering Folder Structures
Another thing to consider is the scope of your vault when you are creating it. When I first started experimenting with Obsidian, I was using it essentially like a Google Drive with many different Google Sheets in each folder and my scope was not defined, which isn’t really what Obsidian excels at.
✺
Although there are ways to collaborate on a vault using either a shared cloud space or a GitHub repository (both not without potential syncing issues) Obsidian is really designed as a personal knowledge management tool and it works best when you are analyzing a somewhat limited pool of documents. This may be a single project, class or academic discipline that you want to compare and interconnect in different ways.
That said, since a vault is essentially just a folder, you can easily add or remove different items to change the scope of your analytical focus at any point.
Connecting GitHub, GitHub Desktop and Visual Studio Code

-
Now that we have our Obsidian account and a vault structure, you will need to create an account with GitHub a cloud-based platform that allows developers to store, share and collaborate on code.
-
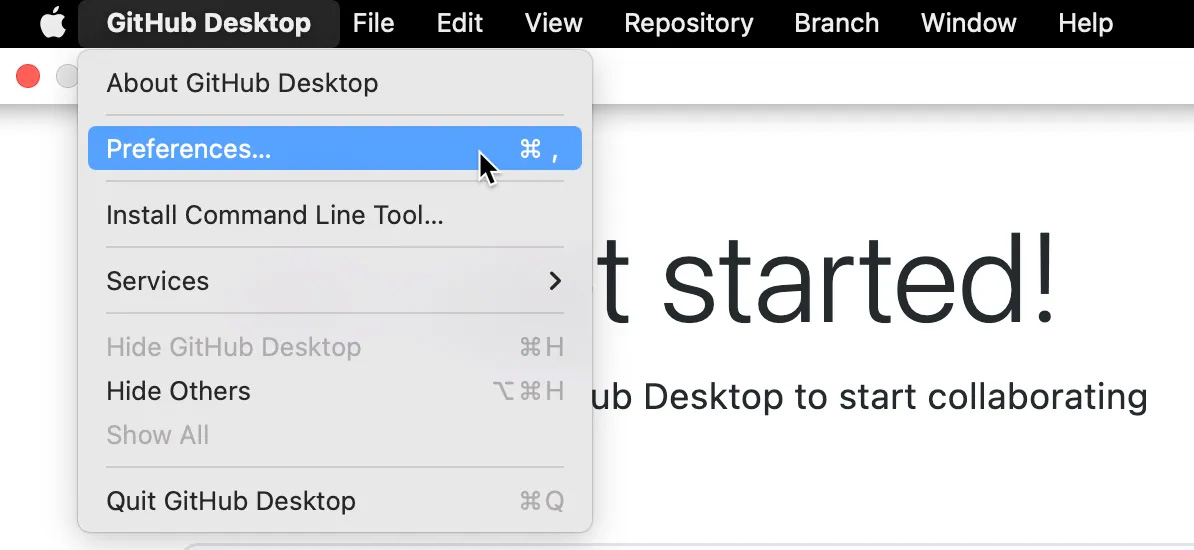
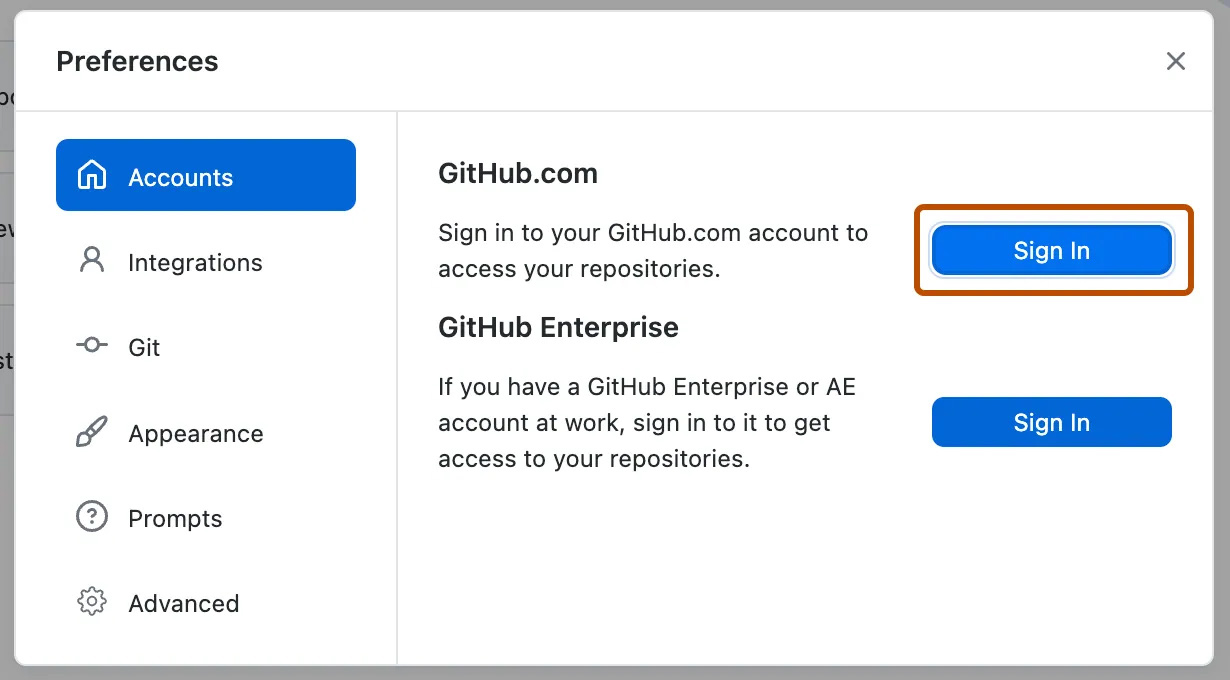
After you have an account, download GitHub Desktop and, with your Git web browser open, sign through Preferences > Accounts, which will prompt your browser to verify.
- Think of GitHub Desktop as a bridge between your GitHub’s web browser and your local Visual Studio Code that is saving you a little coding that you would otherwise need to do from the command line.
- Next download a text editor. A simple, no cost option that most of us use in the Center for Digital Inquiry and Learning is Visual Studio Code. Signing in through the settings widget on the bottom left of the interface will prompt the same verification of your GitHub account through the web browser.
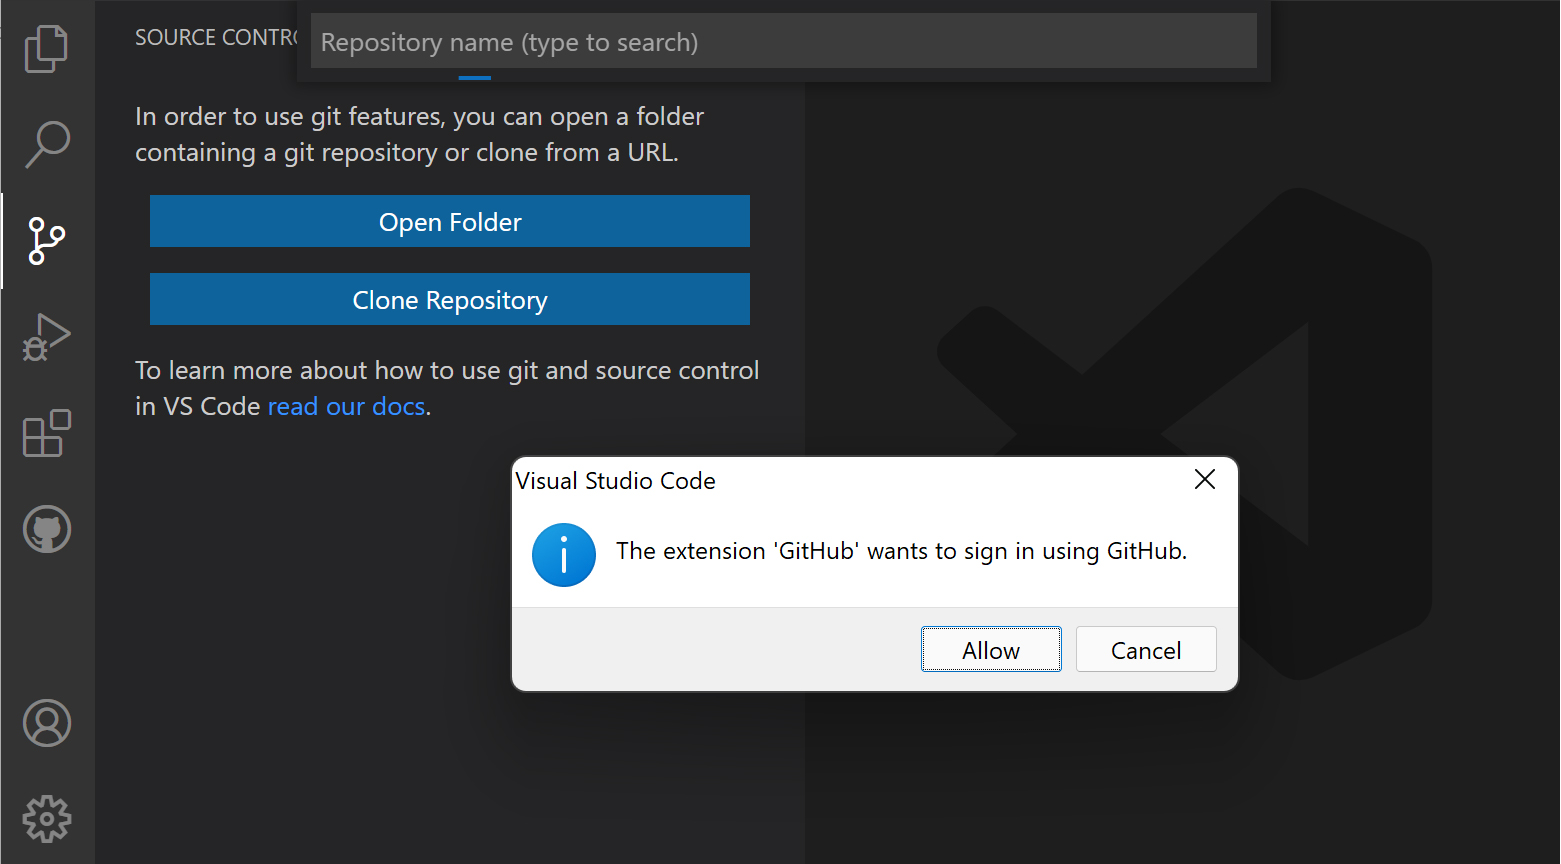
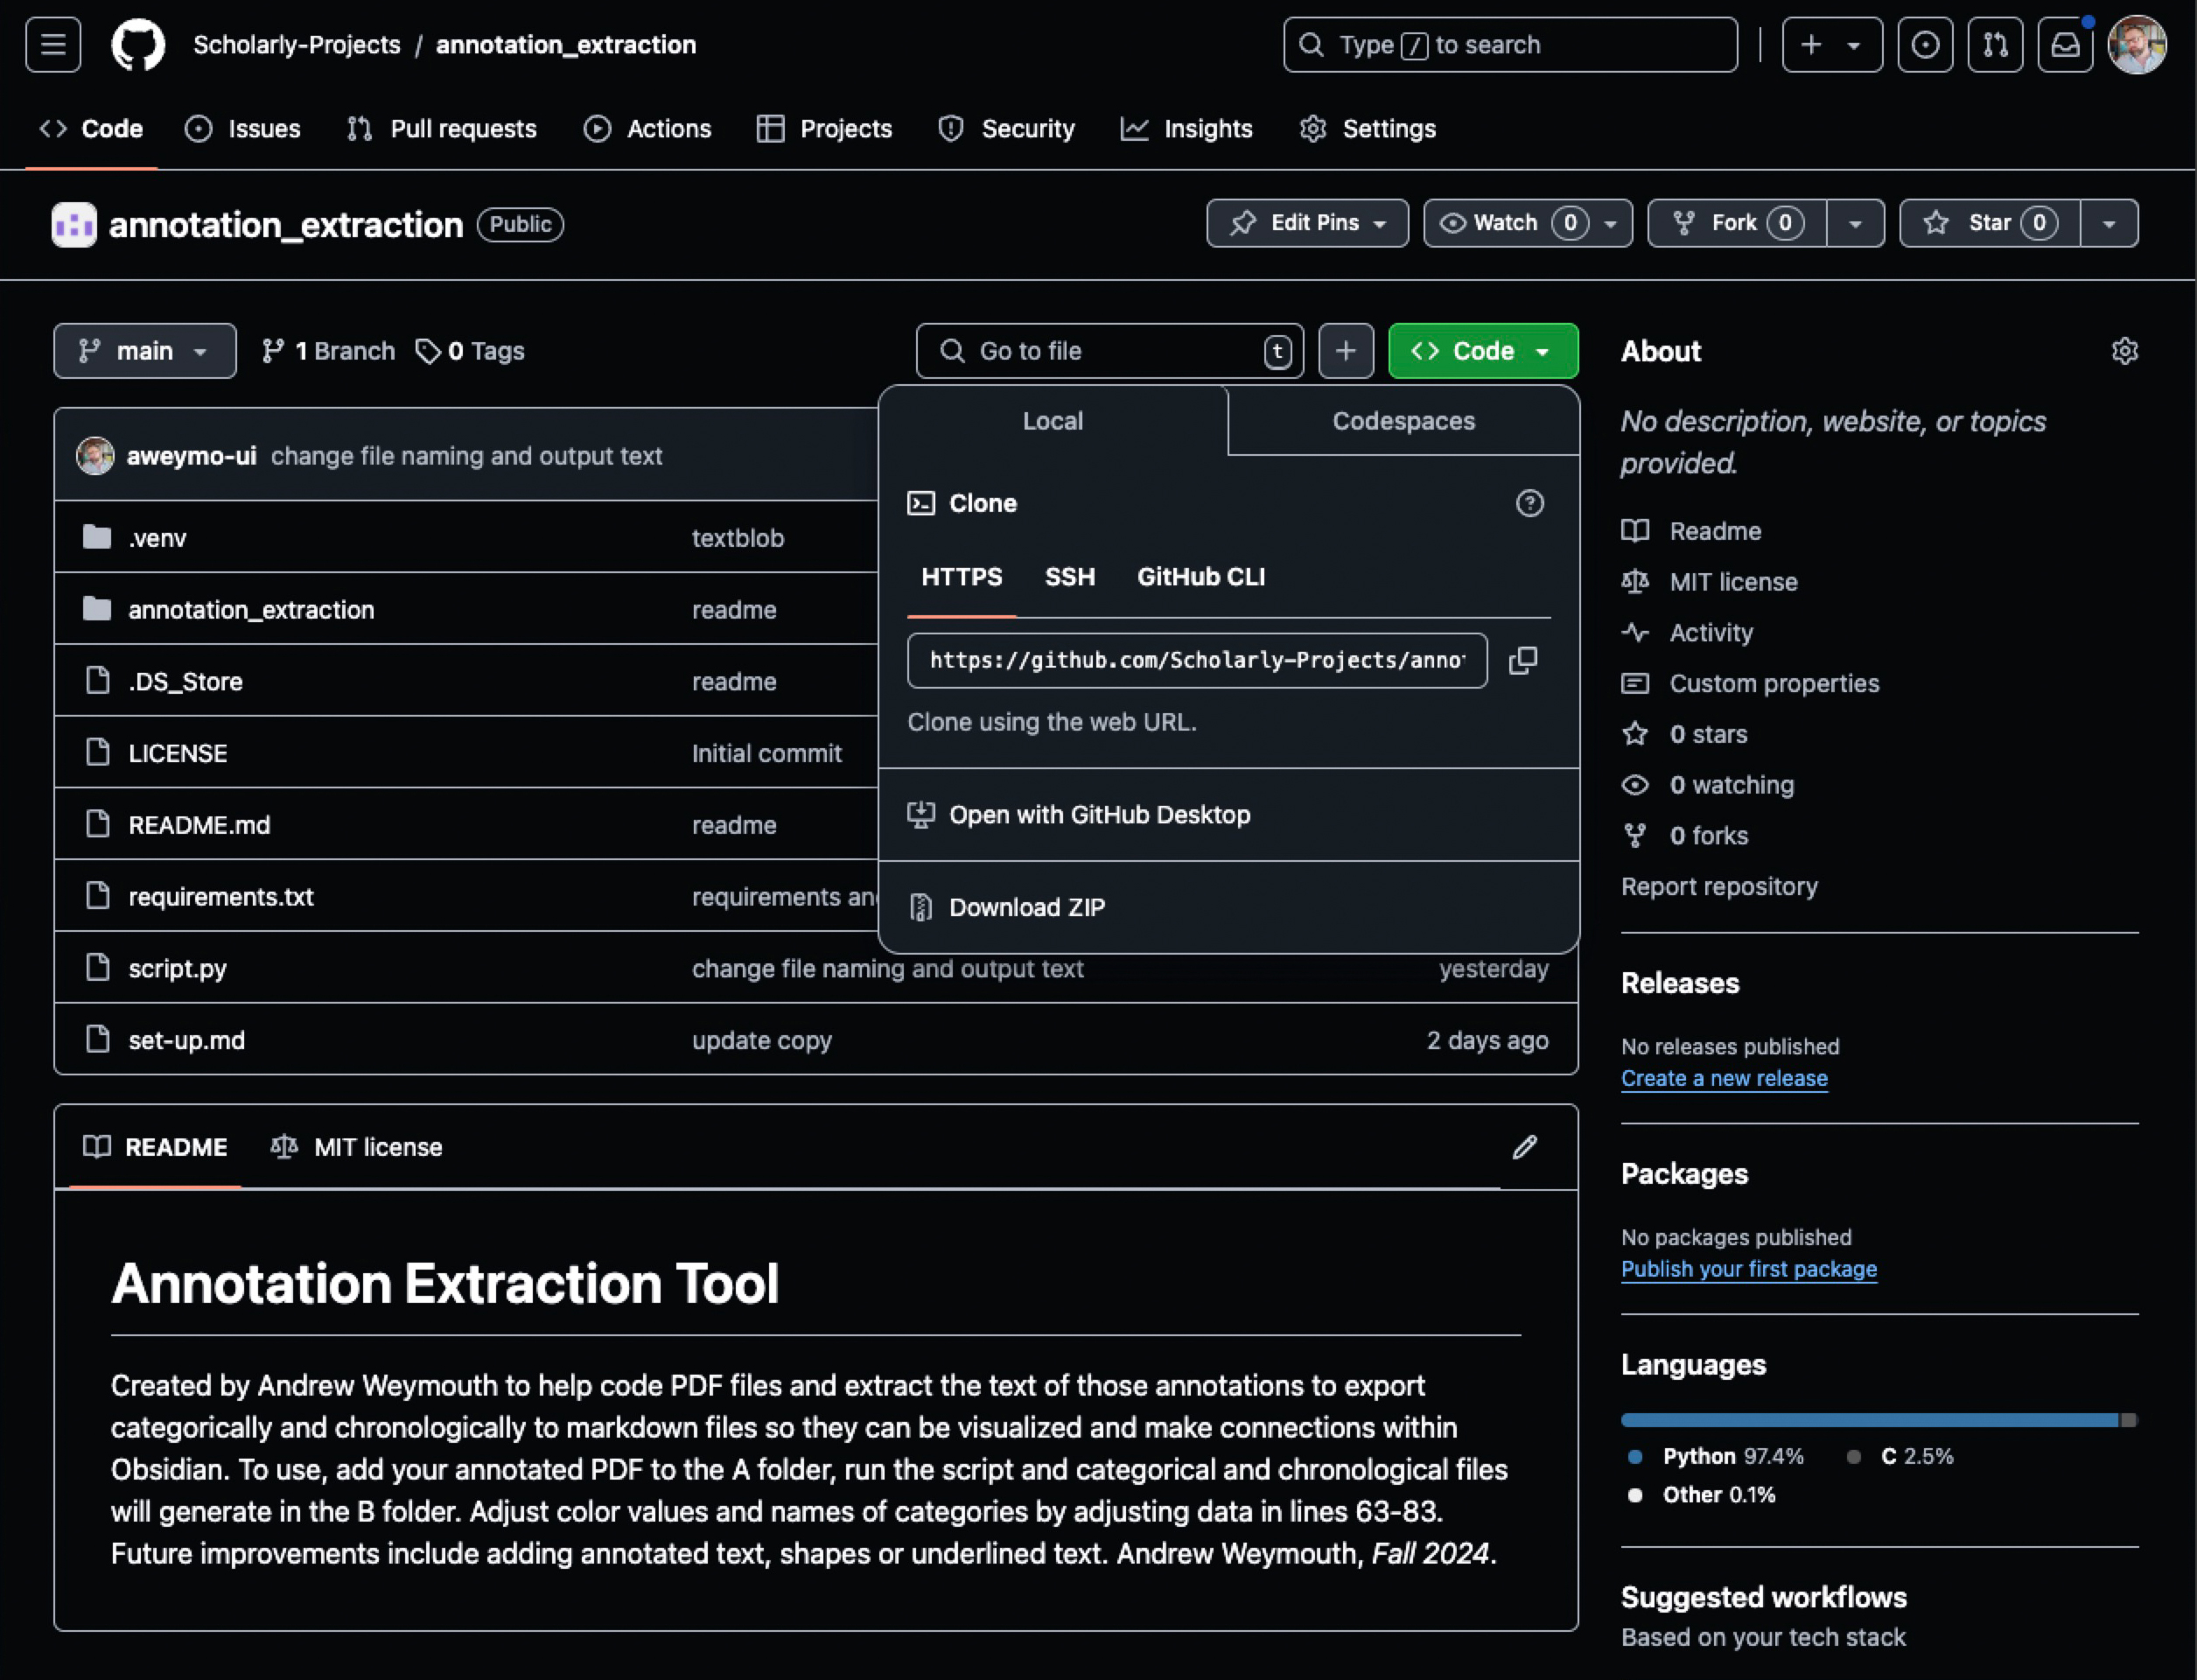
- Now that these elements are all connected, you should be able to clone either the Annotation Extraction Tool or the book splitter Python tools by pushing the green
Codebutton and selectingOpen with GitHub Desktop.
- In GitHub Desktop, select
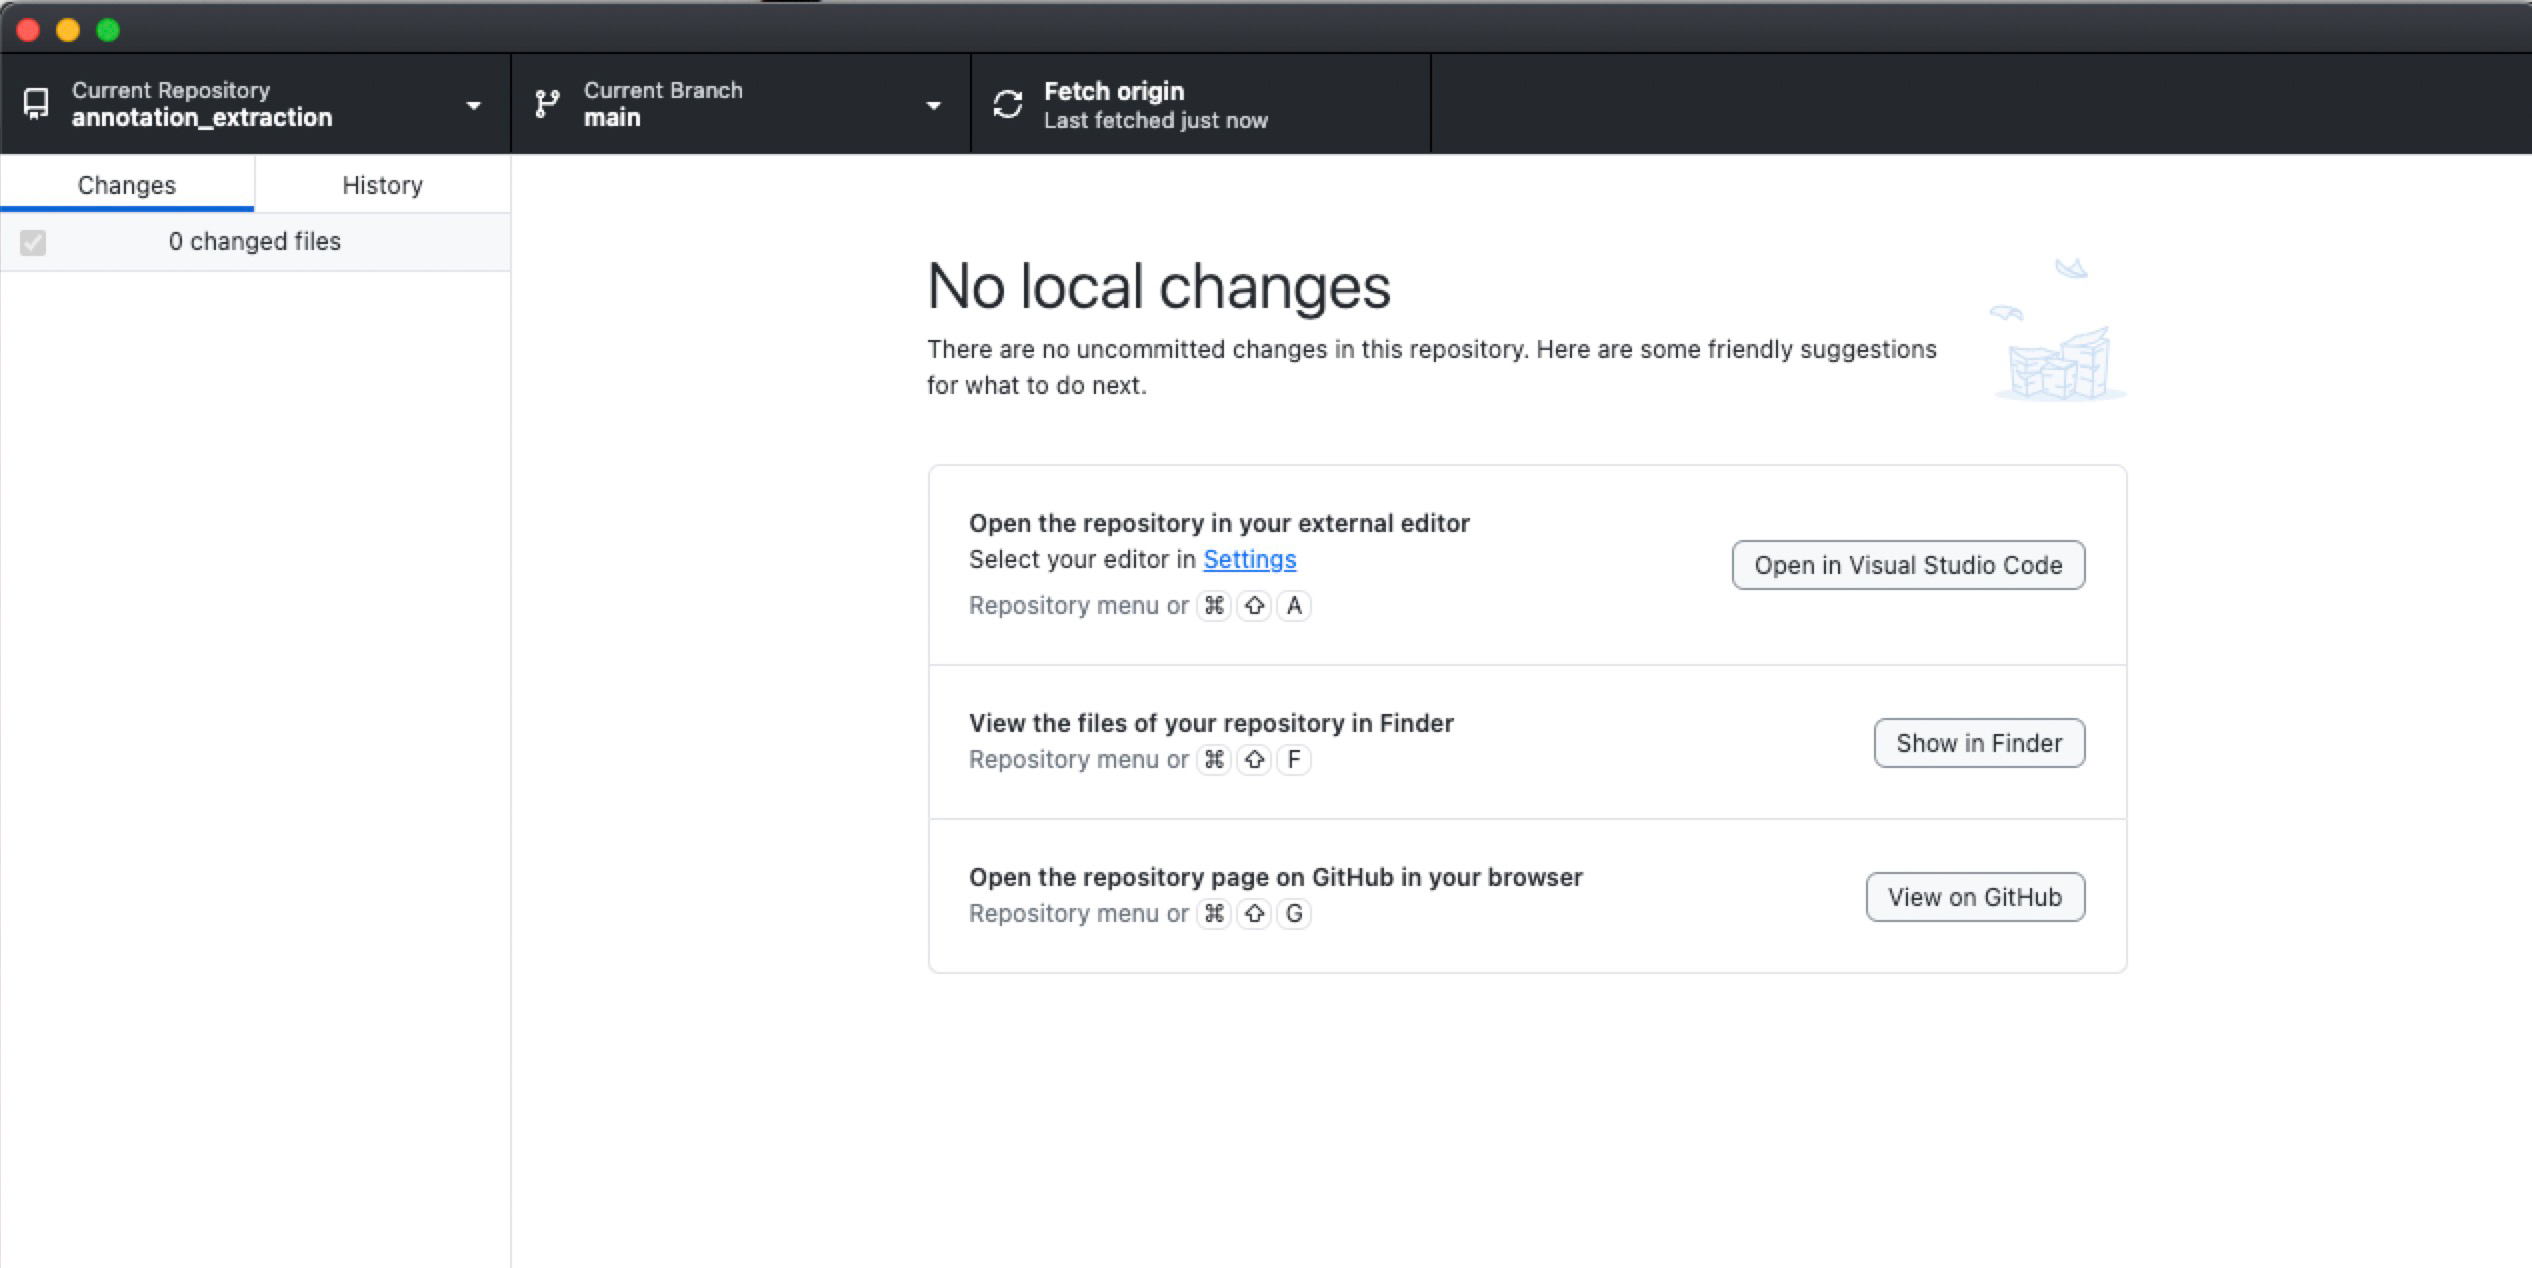
Fetch Originand then selectOpen in Visual Studio Codeto begin!
